Influencer Campaign Checklist
This document is designed to be used as a checklist of steps that need to be completed to ensure that your influencer campaign progresses from start to finish seamlessly.
Step 1. Dashboard Access and Onboarding
Once your Discovery is available for your review, you should receive an email from Gamesight granting you access to your Influencer Campaign Dashboard. Be sure to click 'Accept' in order to be added to your Gamesight account.
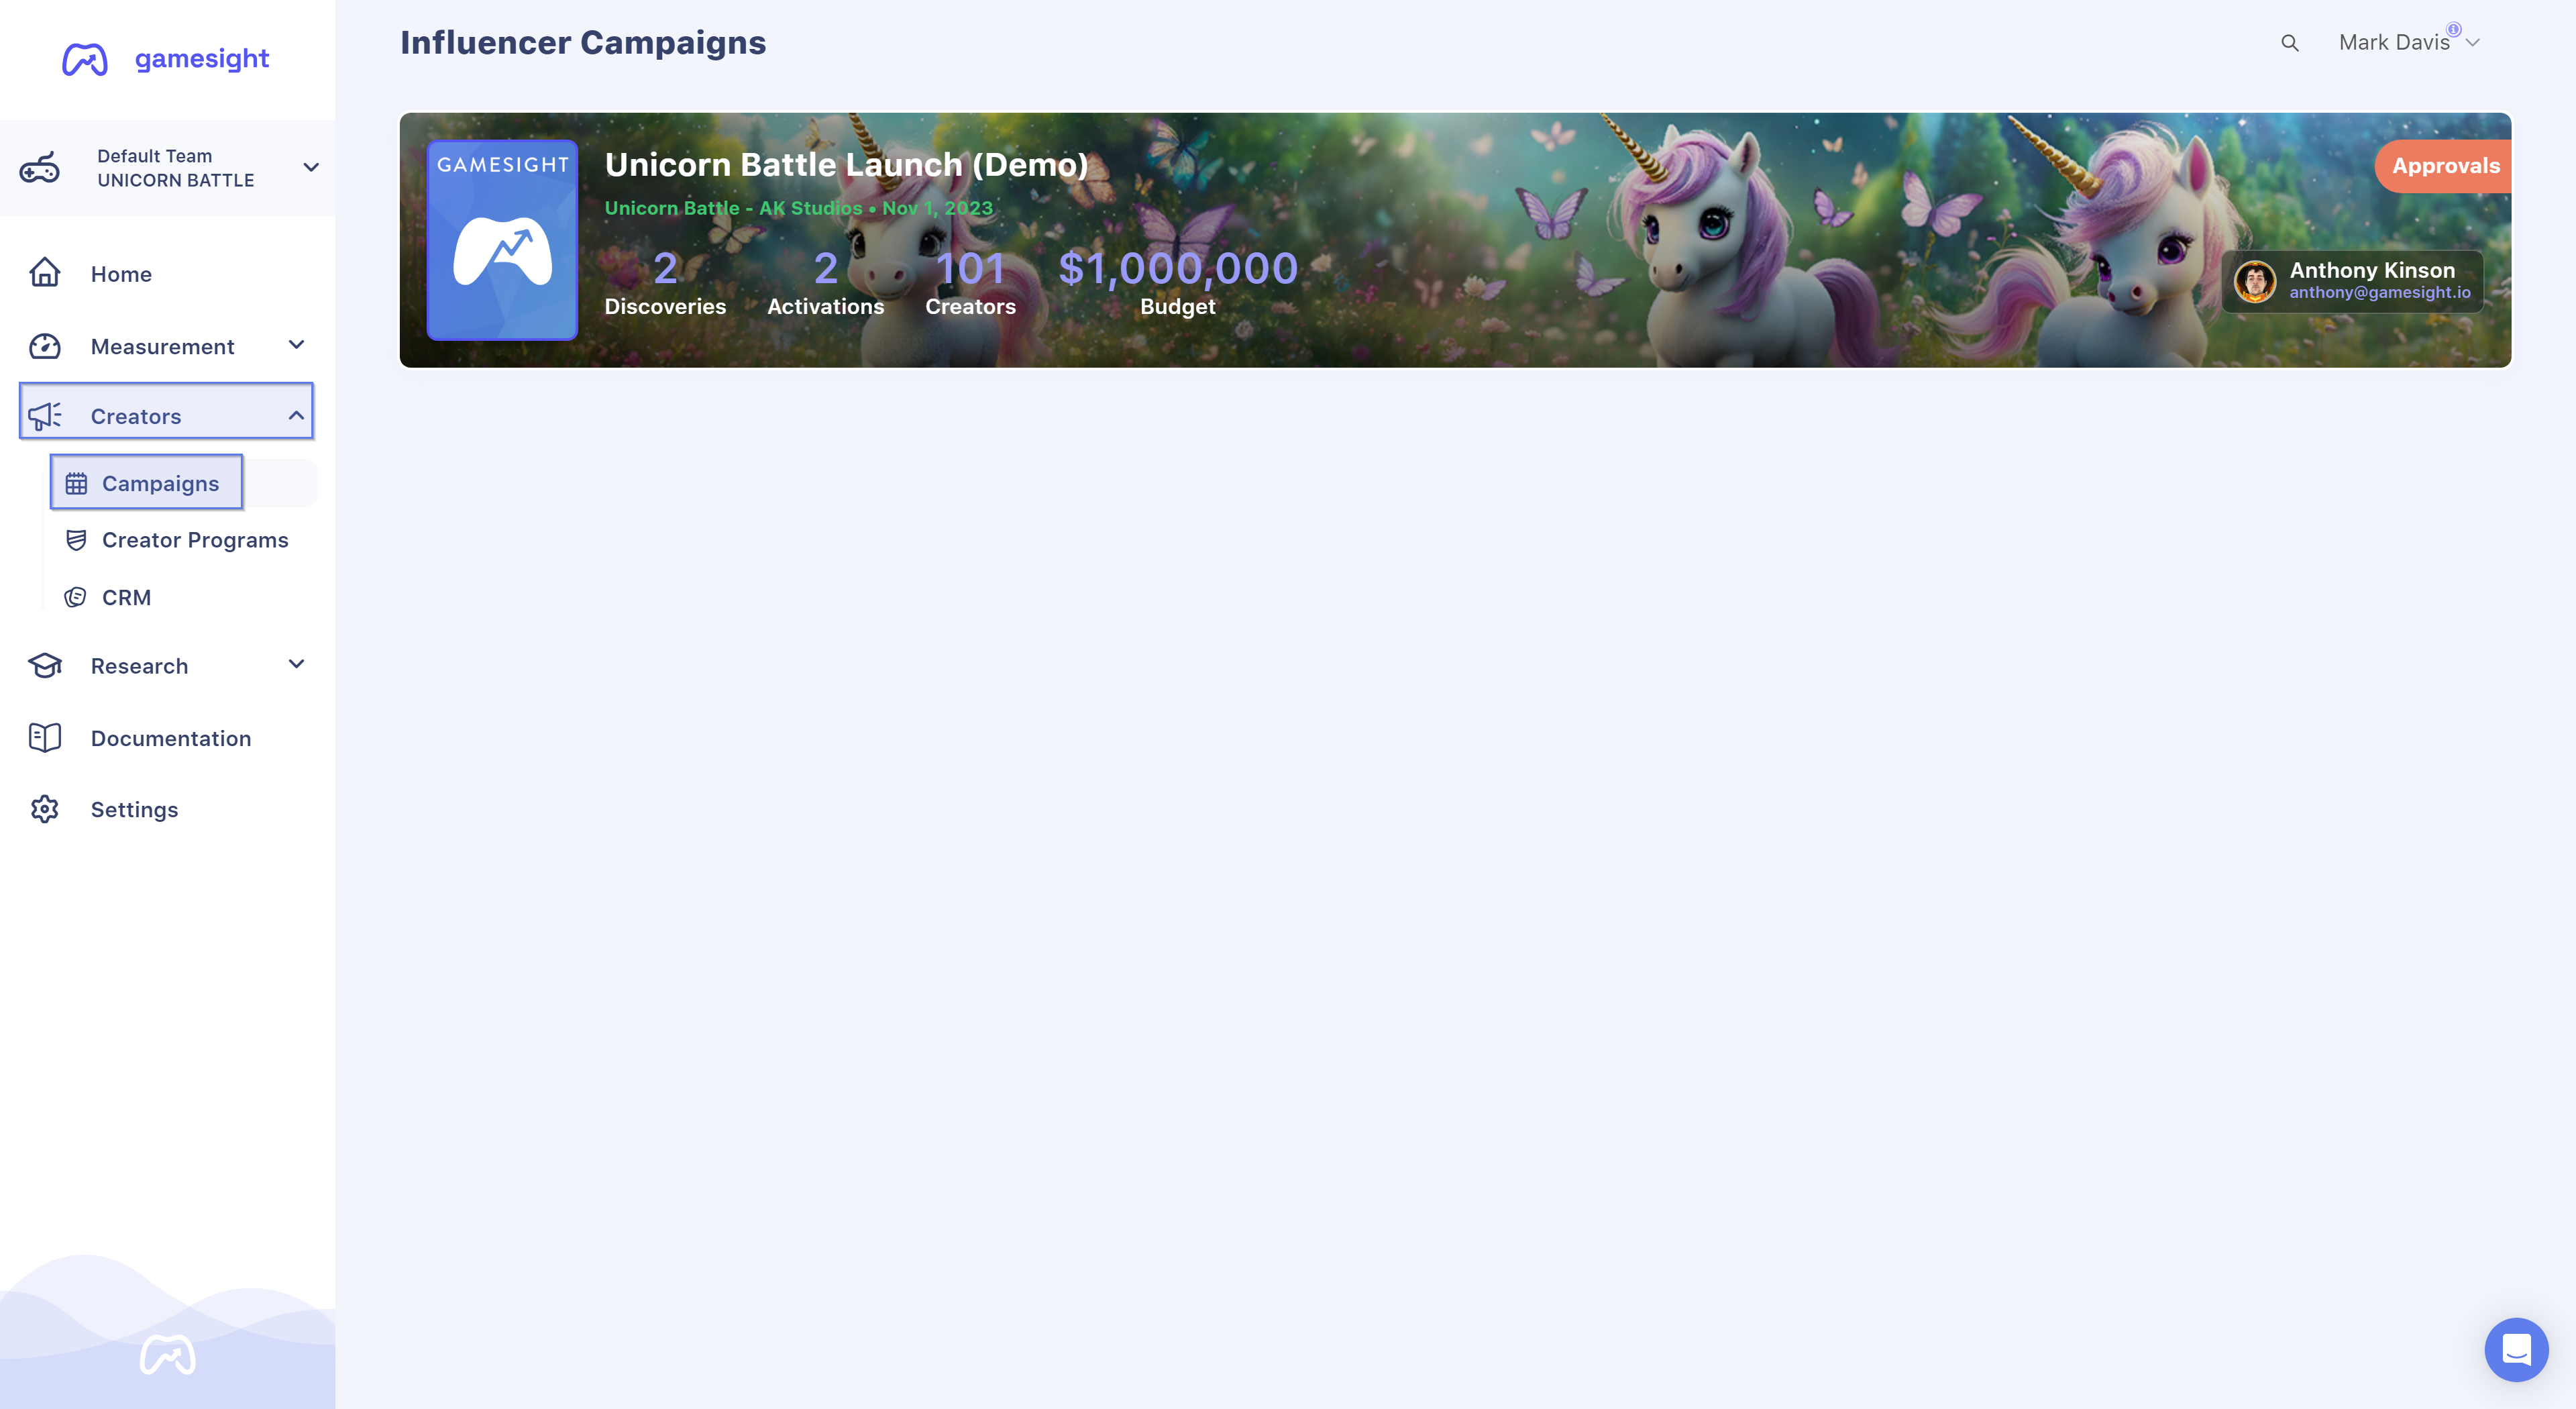
To access your dashboard, simply click Creators > Campaigns on the left-hand navigation bar once you are logged in.
Share Access Link
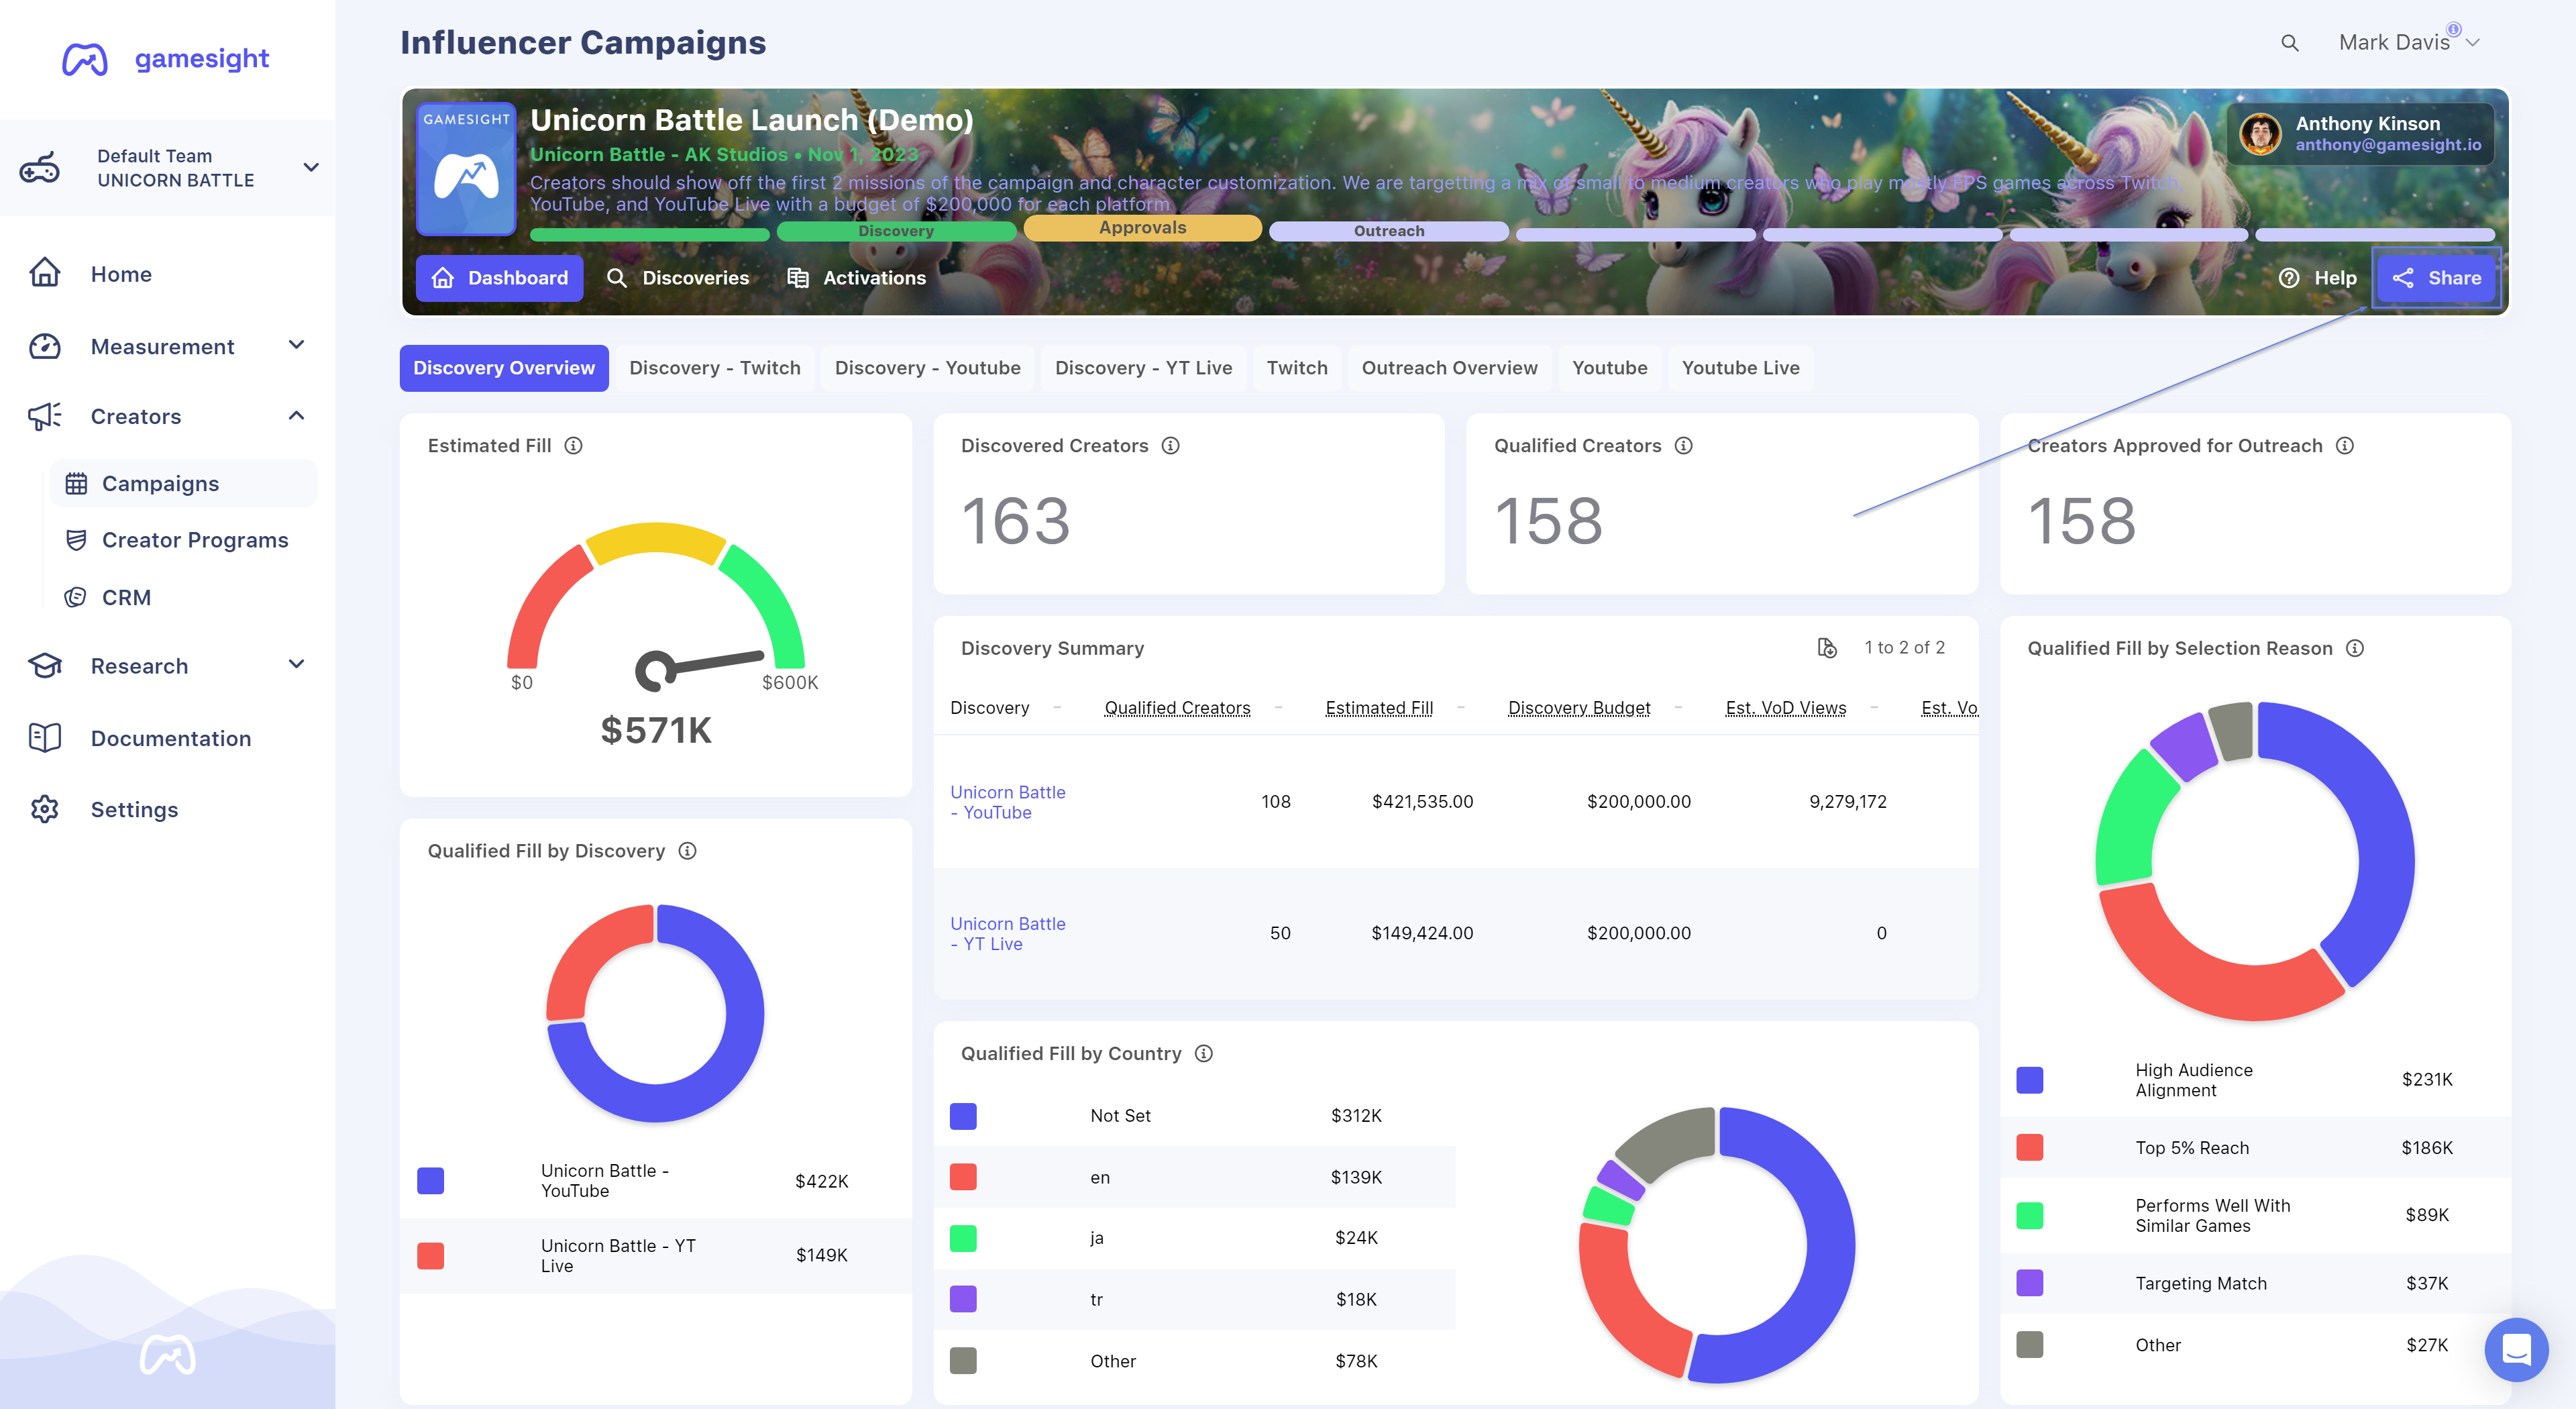
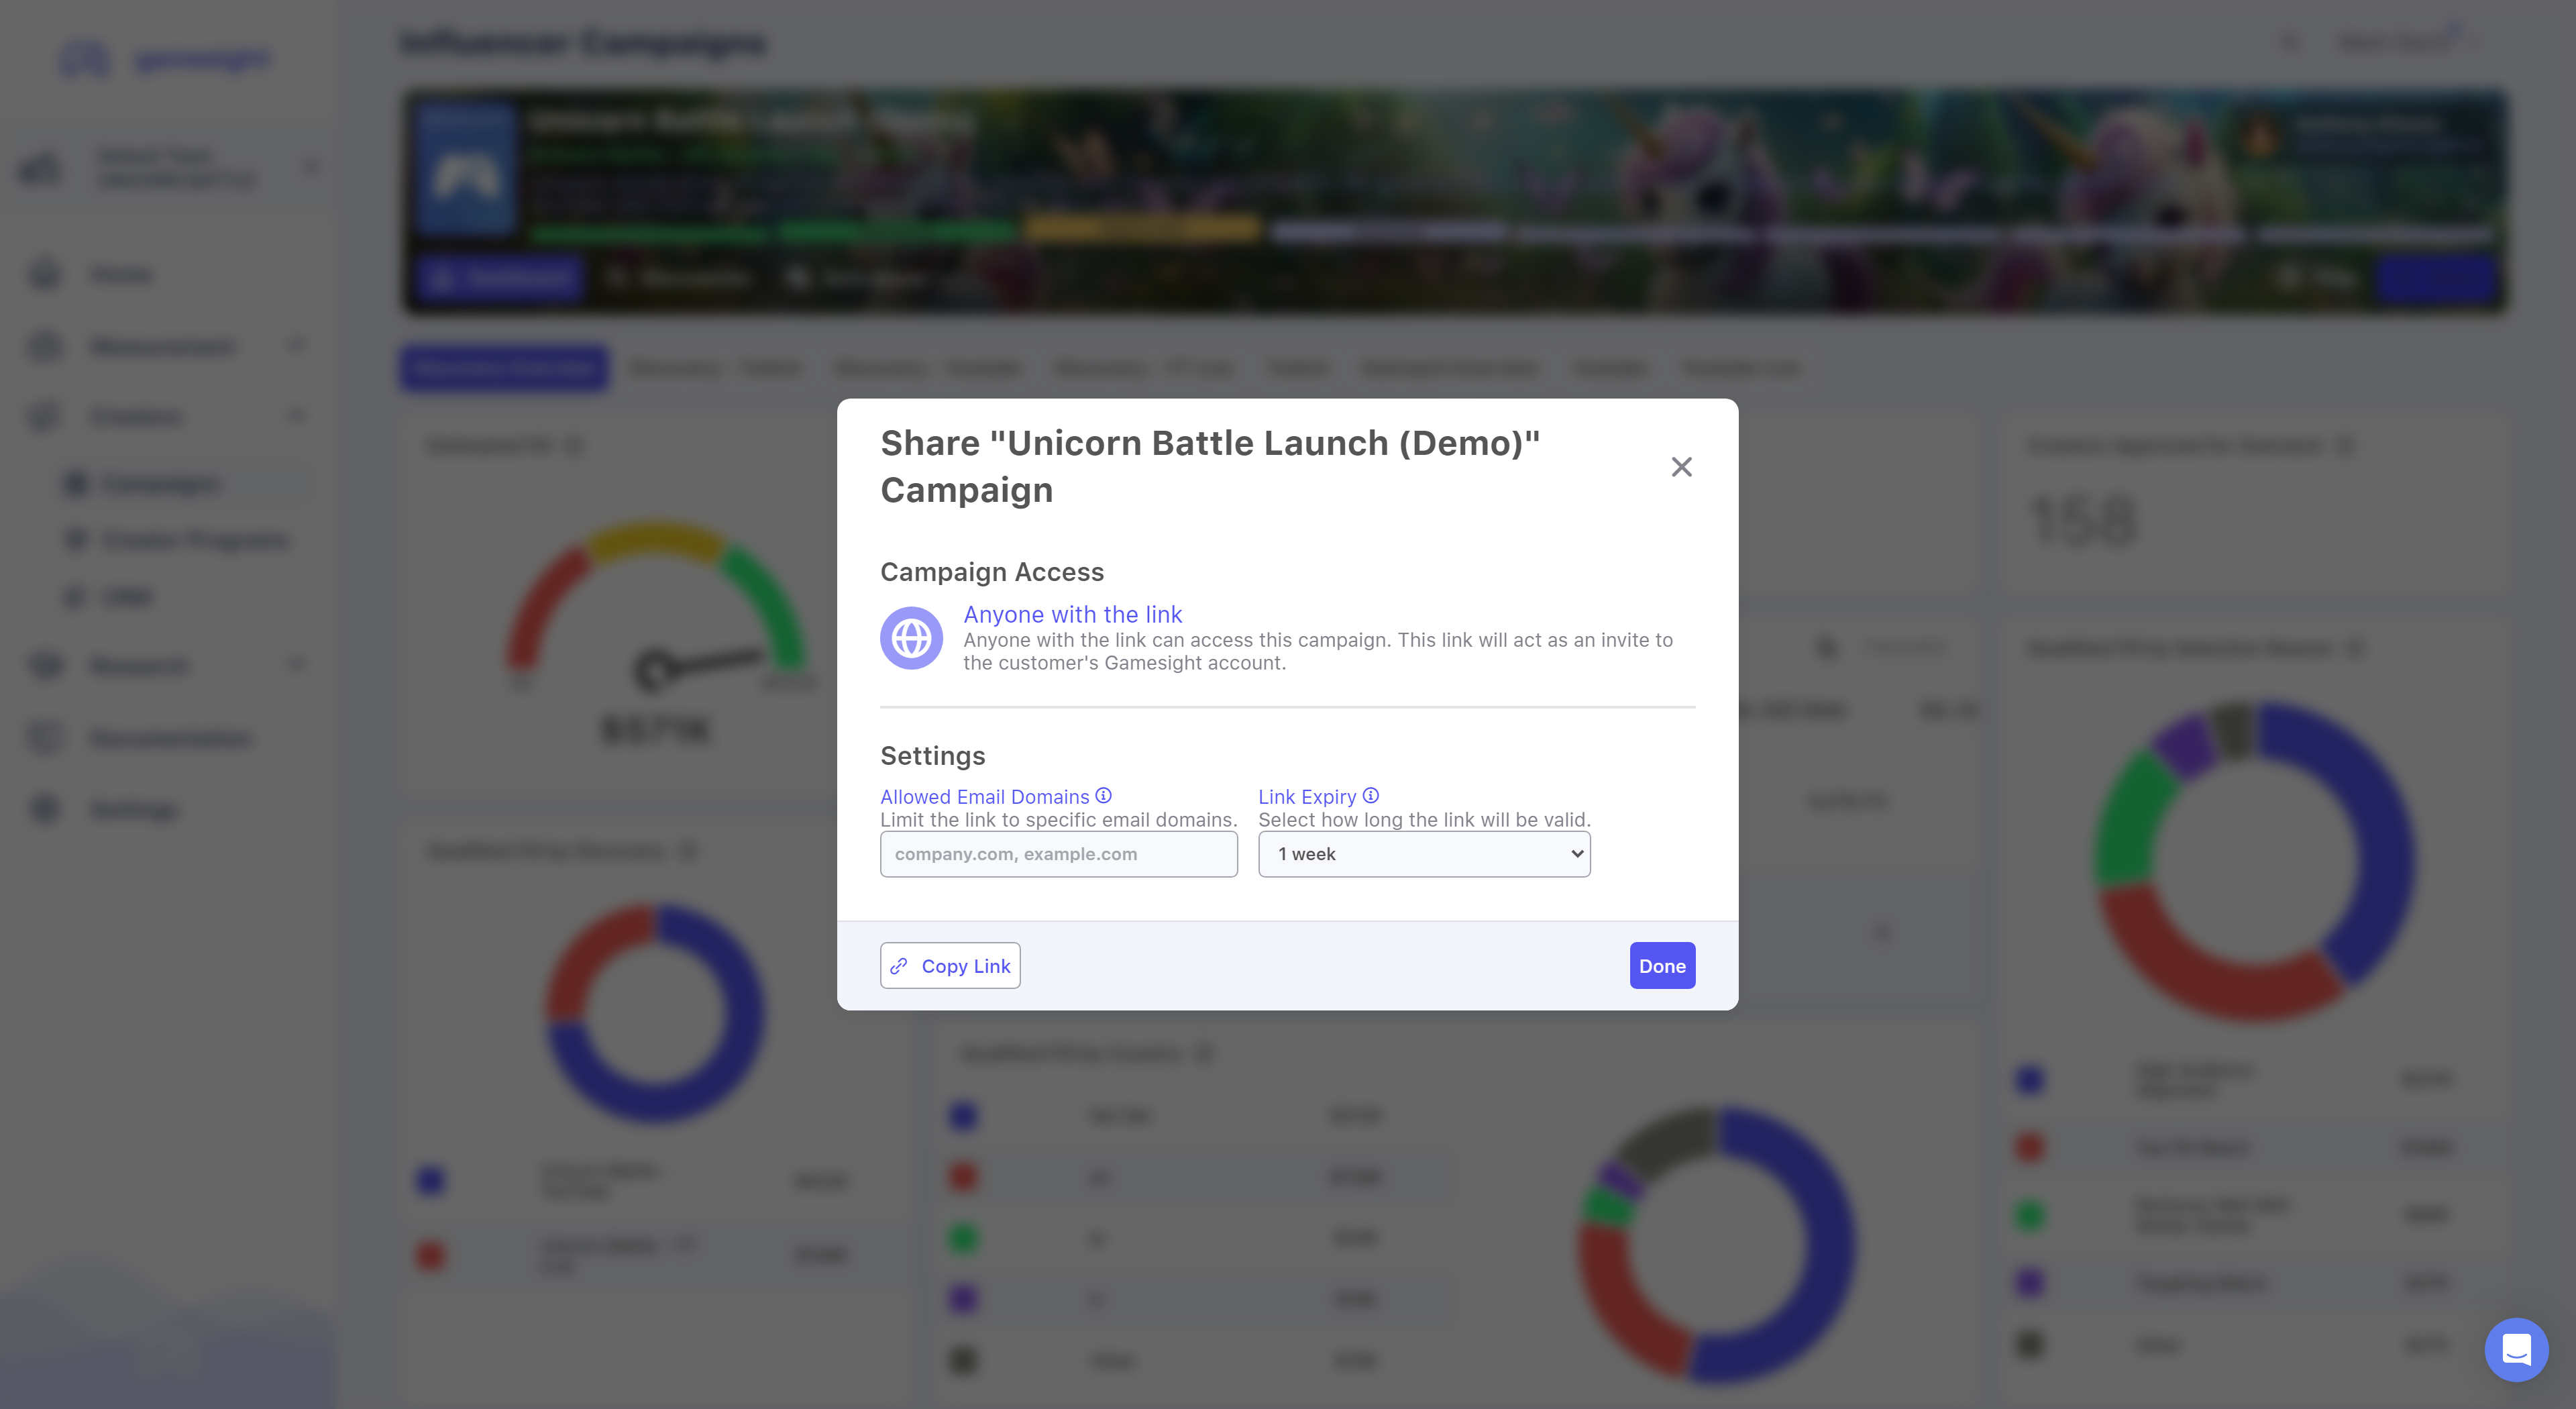
You also have the option of sharing a unique link with your team in order to grant users access to your Discovery and Campaign. This link can be generated by clicking 'Share' from the campaign dashboard as shown below. Note that you can also set access restrictions for specific email domains and also set an expiration time for each link
Simply click 'Copy Link' once you're ready to share your link!
Step 2. Discovery Review
Now that you have access to your dashboard, you can begin reviewing your Discovery by clicking the "🔍Discoveries" tab.

Each influencer in your Discovery is "Qualified" by default. If you would like to reject a creator, you can do so by toggling "Qualified" to "Rejected". More on Influencer Approvals here.
You also have the option to Request Changes to your Discovery if needed by clicking the blue Request Changes button.
Discovery ApprovalIf no changes are required, or changes have already been completed, you will need to Approve the discovery from your dashboard by clicking the green Approve button. This gives our team the green light to begin outreach!
Step 3. Outreach
Now that your Discovery is approved, we are entering the Outreach stage! Our team will be contacting influencers from your approved Discovery to gauge their interest in participating in your campaign, obtain actual influencer rates for the deliverables, coordinate go-live dates, etc. You can learn more about Outreach & Contracting here.
Outreach Overview
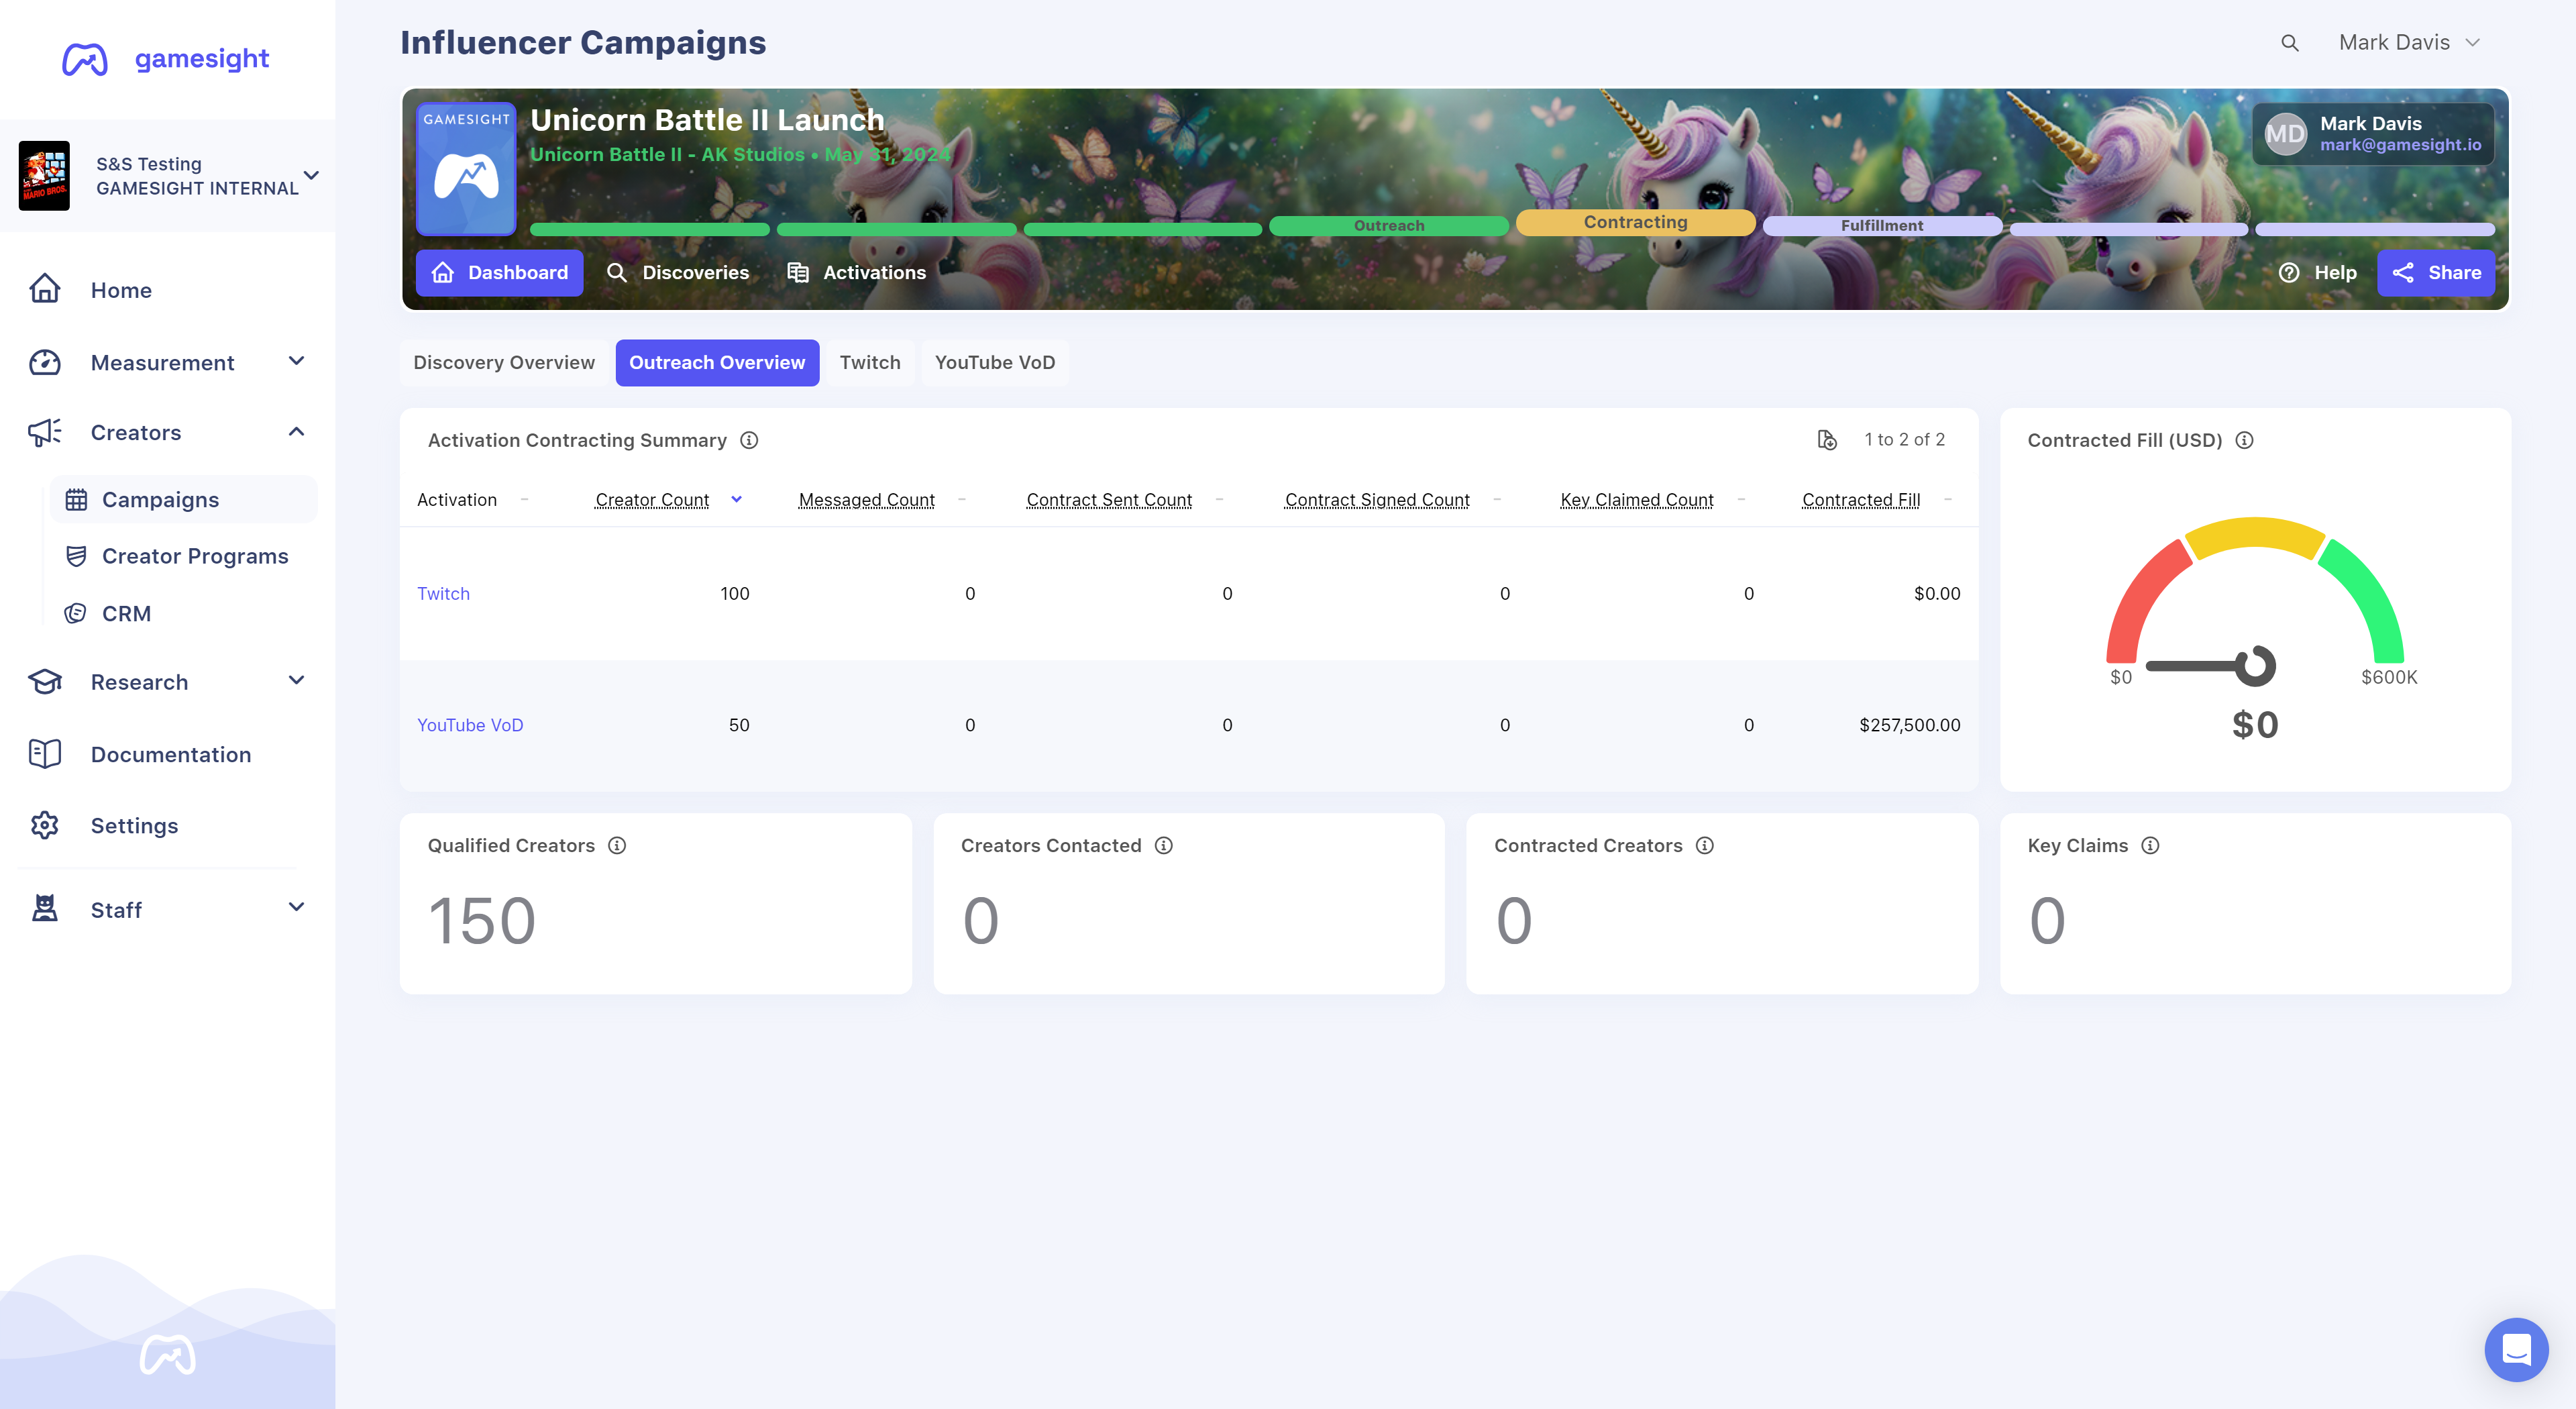
You can monitor our team's Outreach progress on the "Outreach Overview" tab which is located under Activations in your dashboard. This is where you will see real-time status updates on influencers being contacted/contracted, keys that were distributed if applicable, deliverables/go-live dates and more.
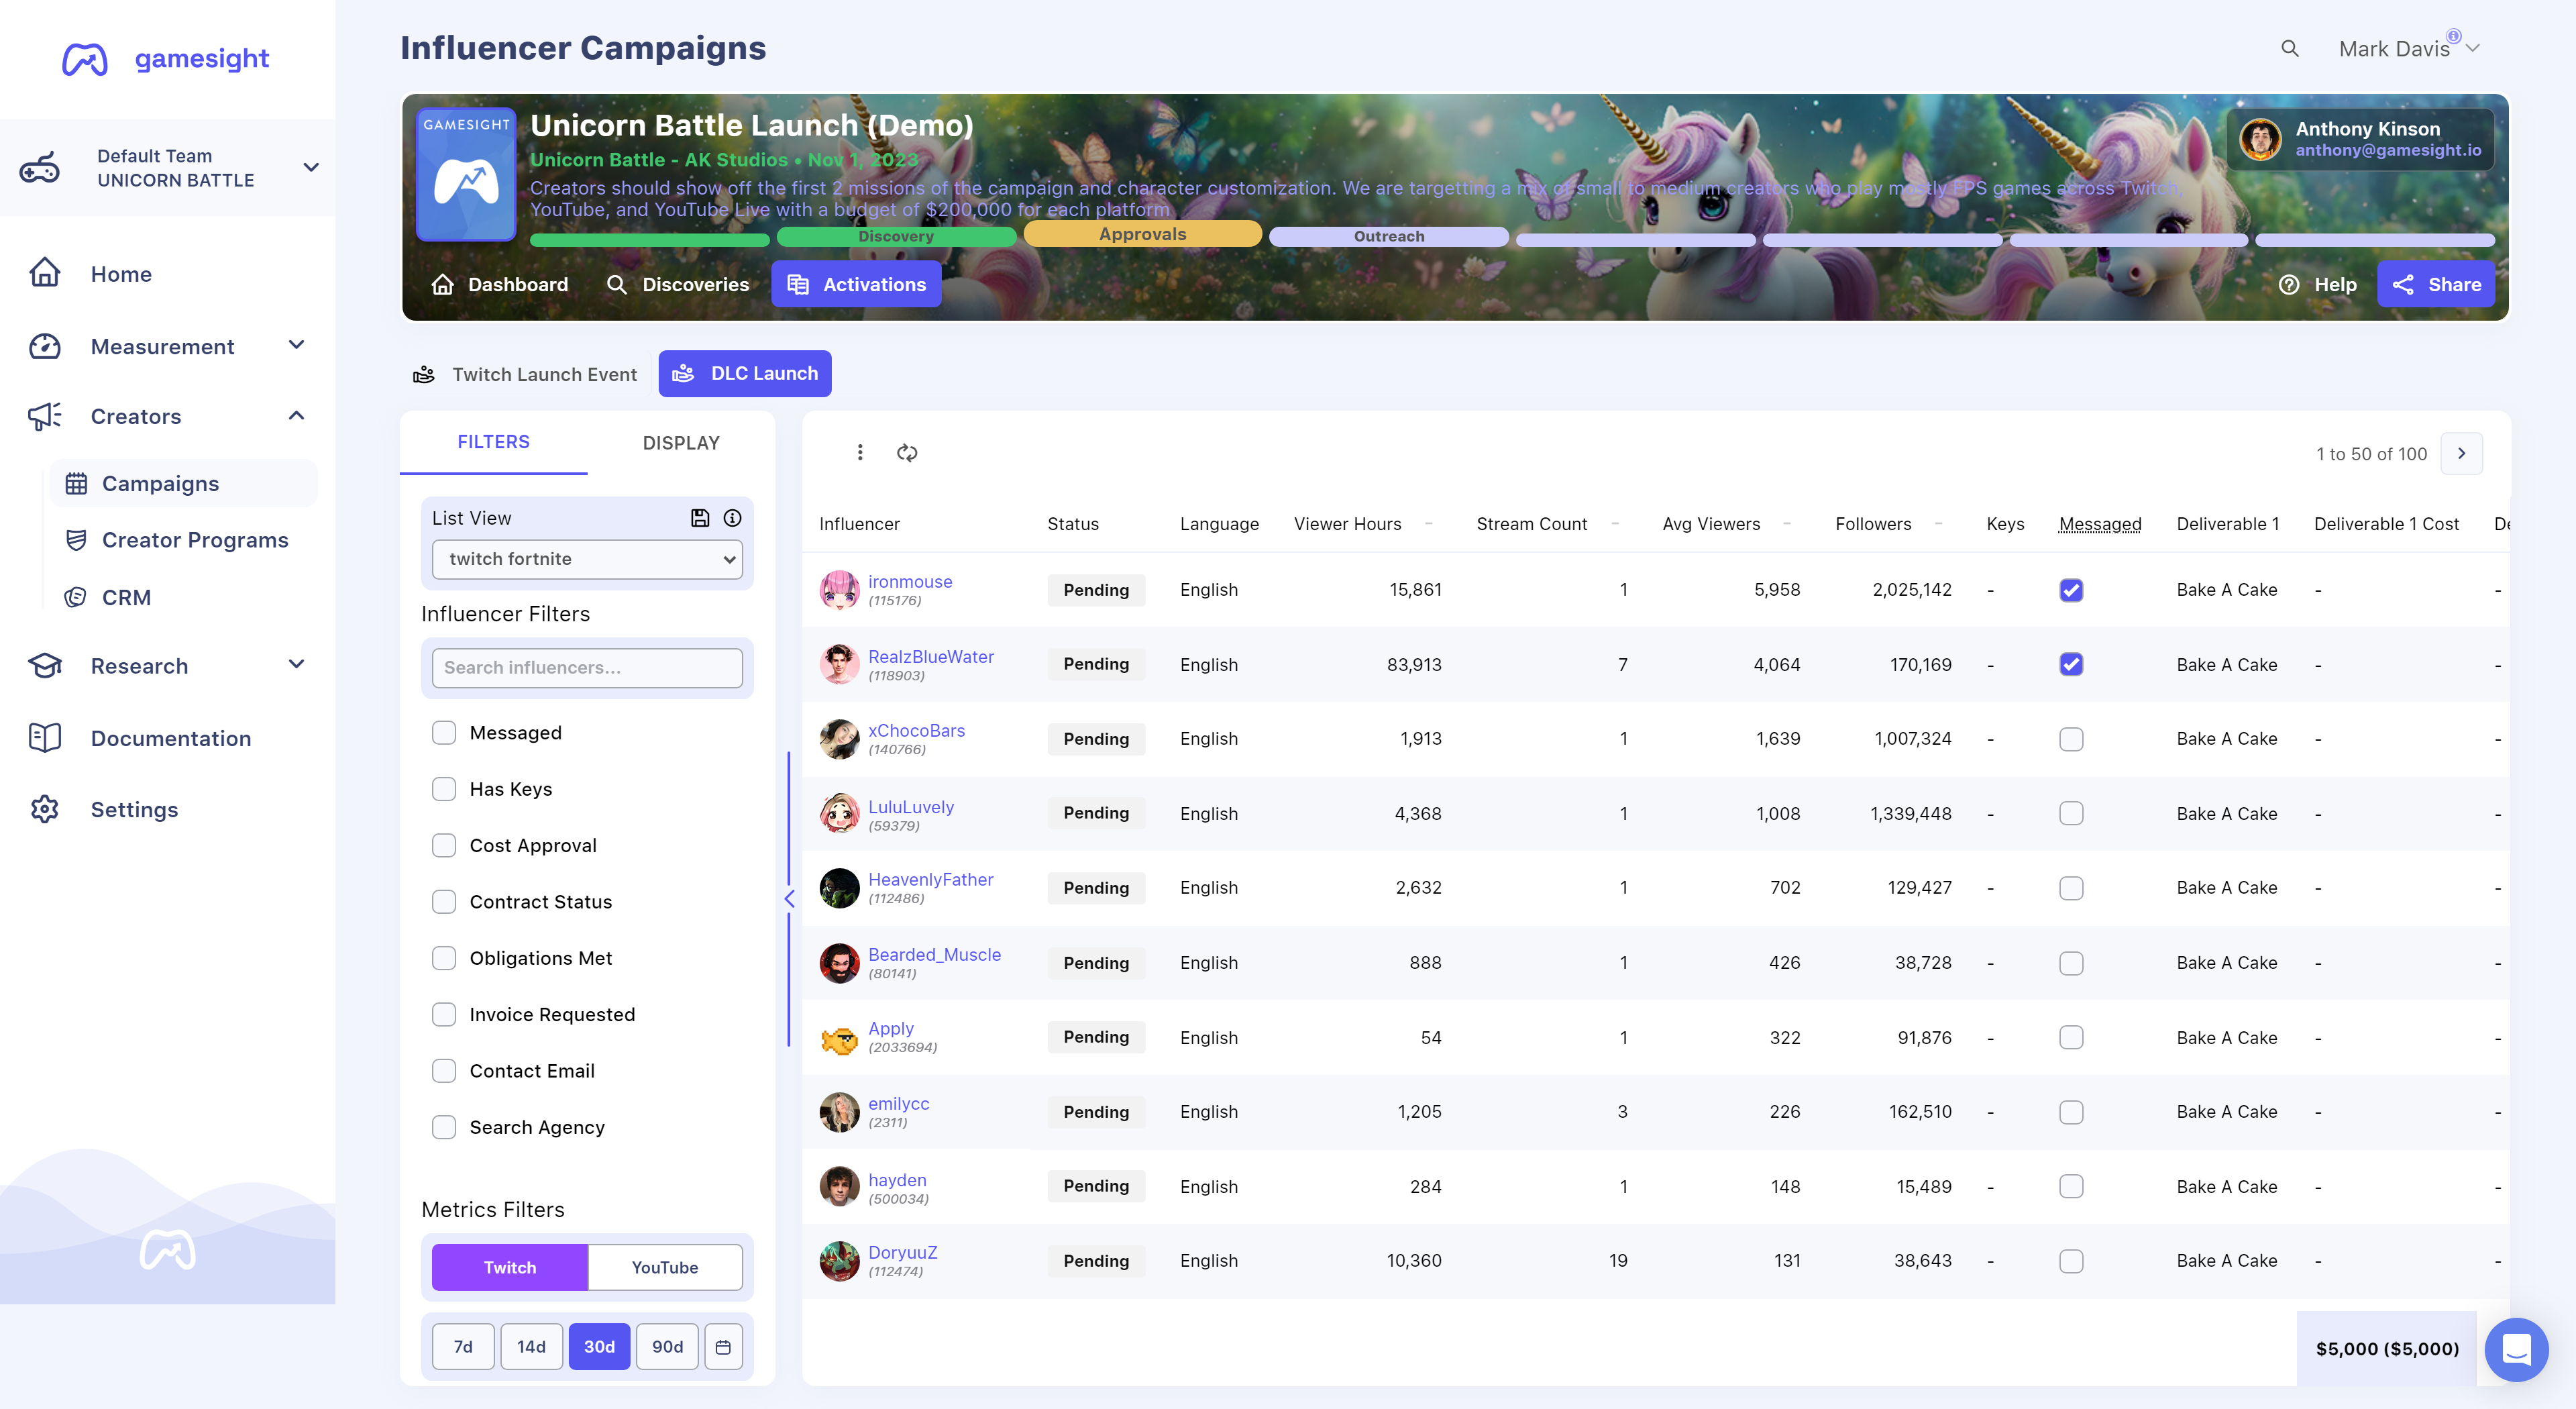
Step 4. Activations
The "Activations" tab is where you will be able to monitor influencer updates, such as deliverable costs, key/merch distribution, go-live dates, links to deliverables, etc. You can think of the Activations tab as your real-time view of your campaign's progress.
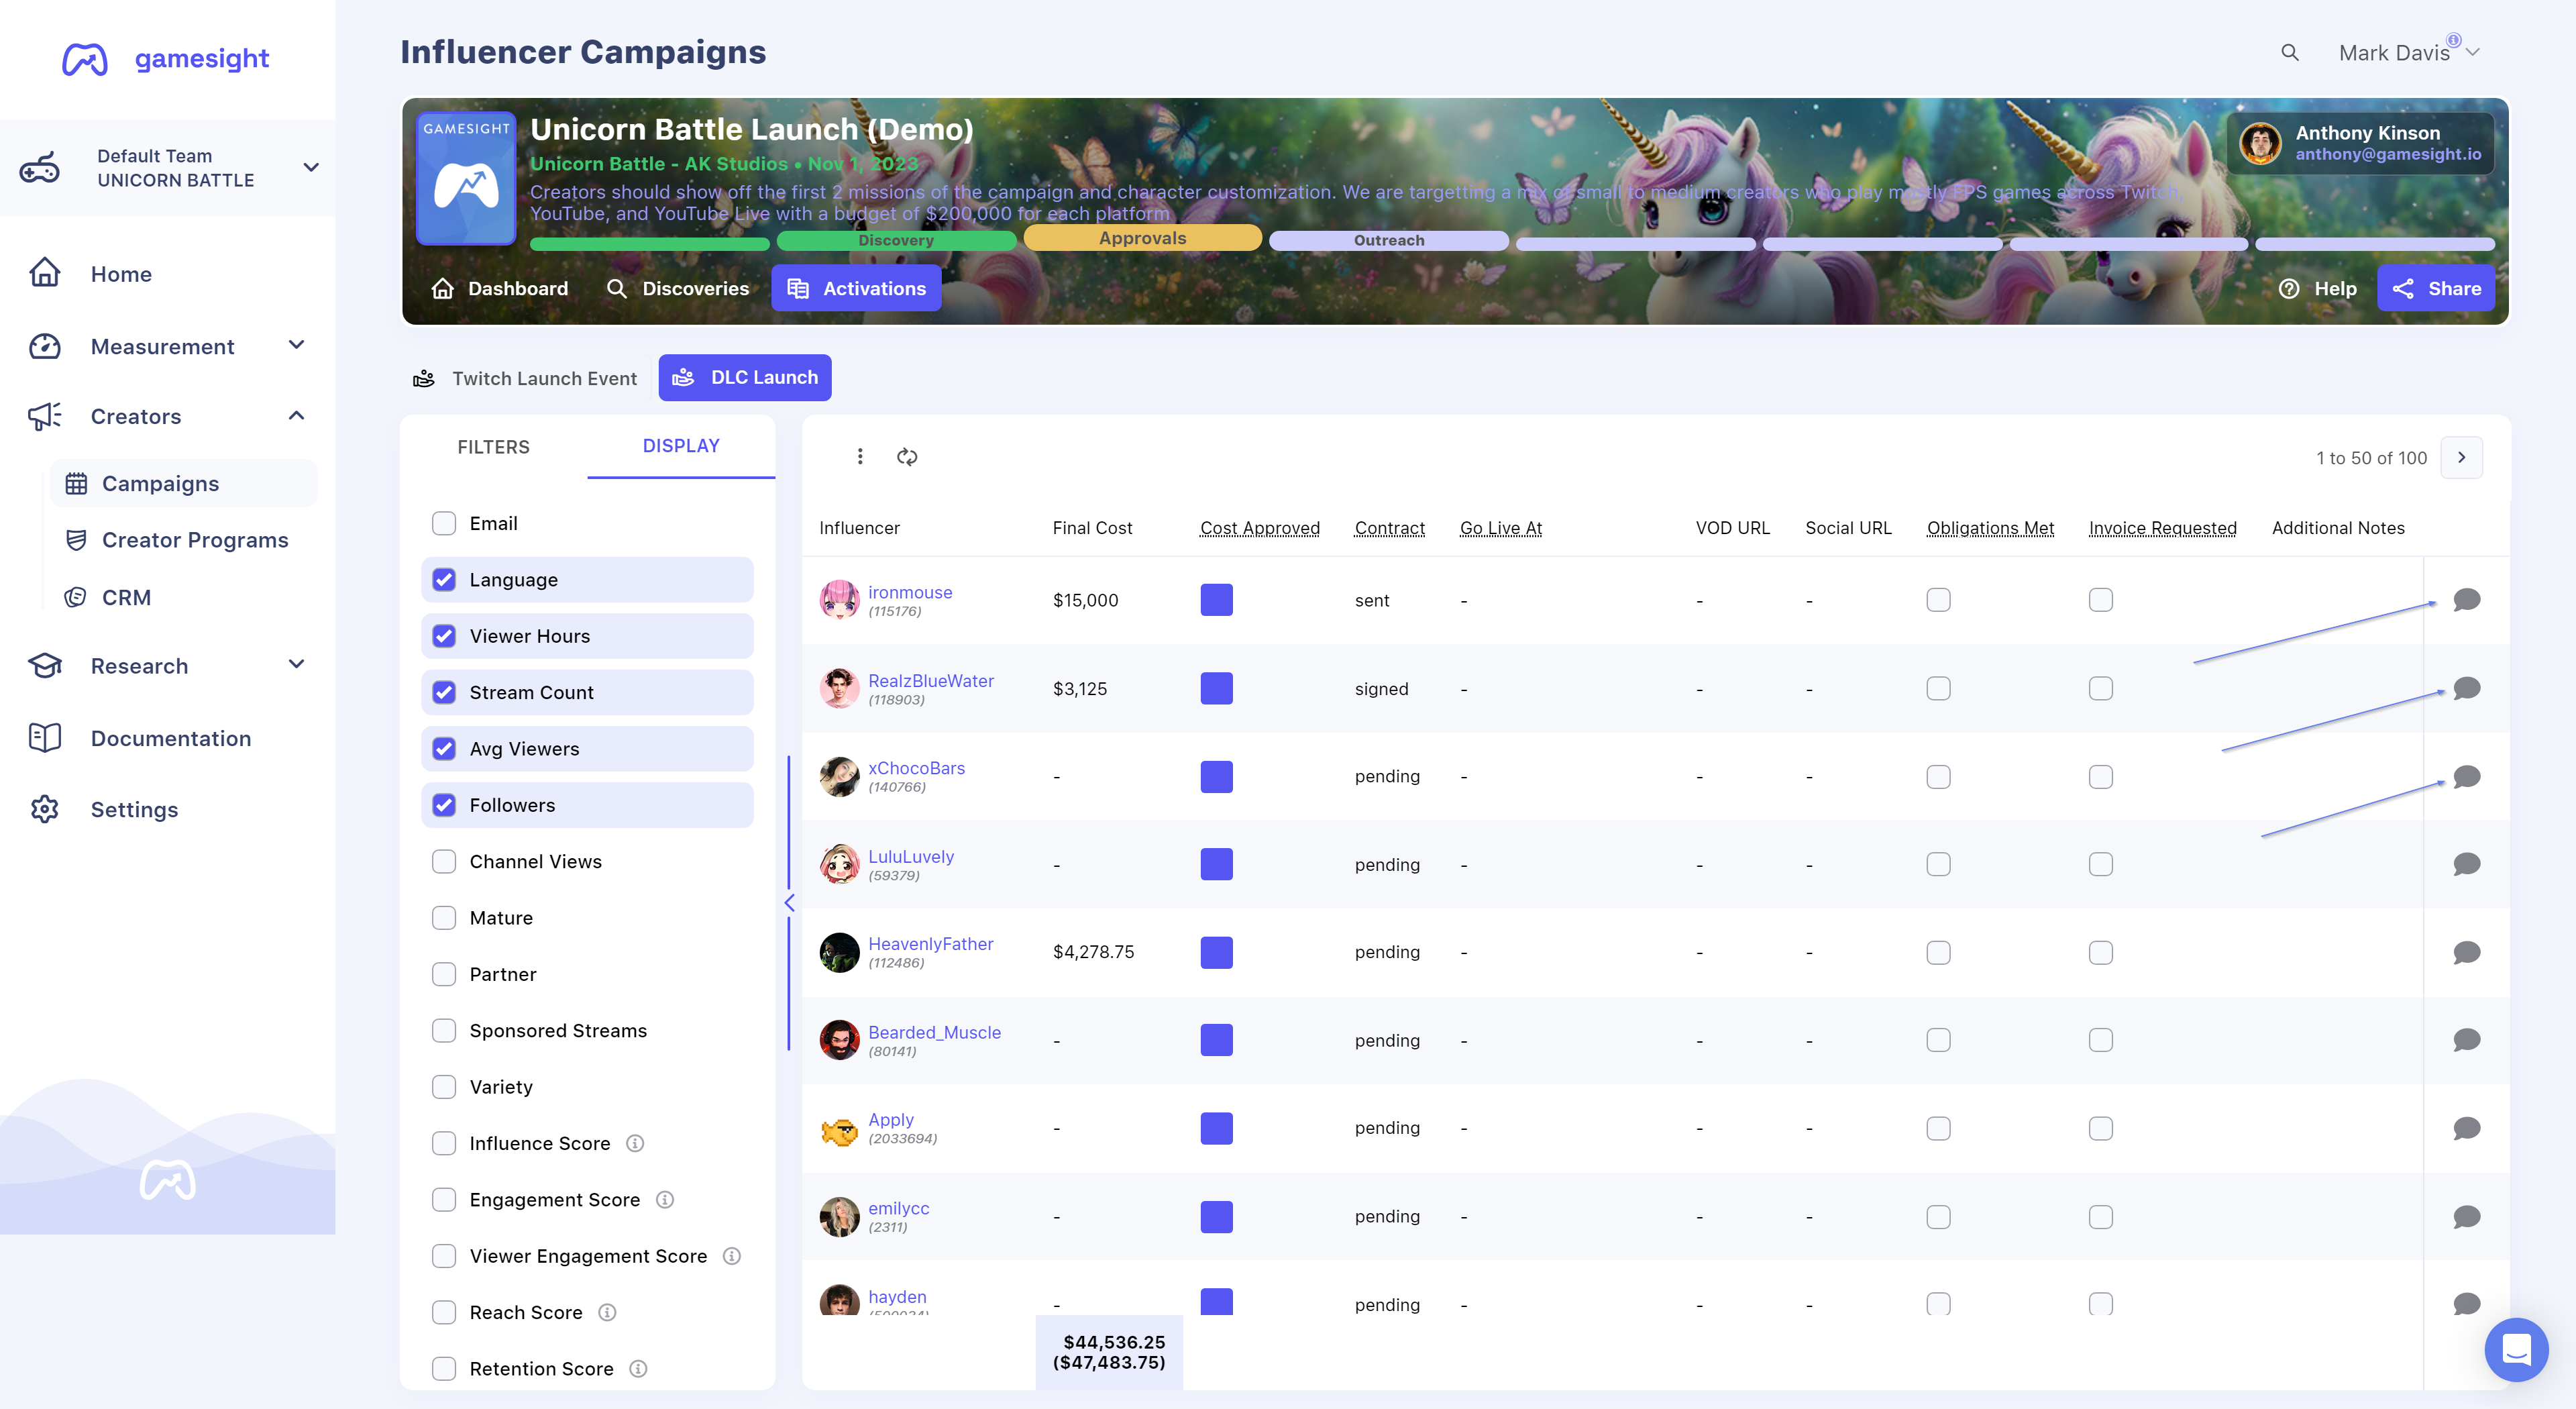
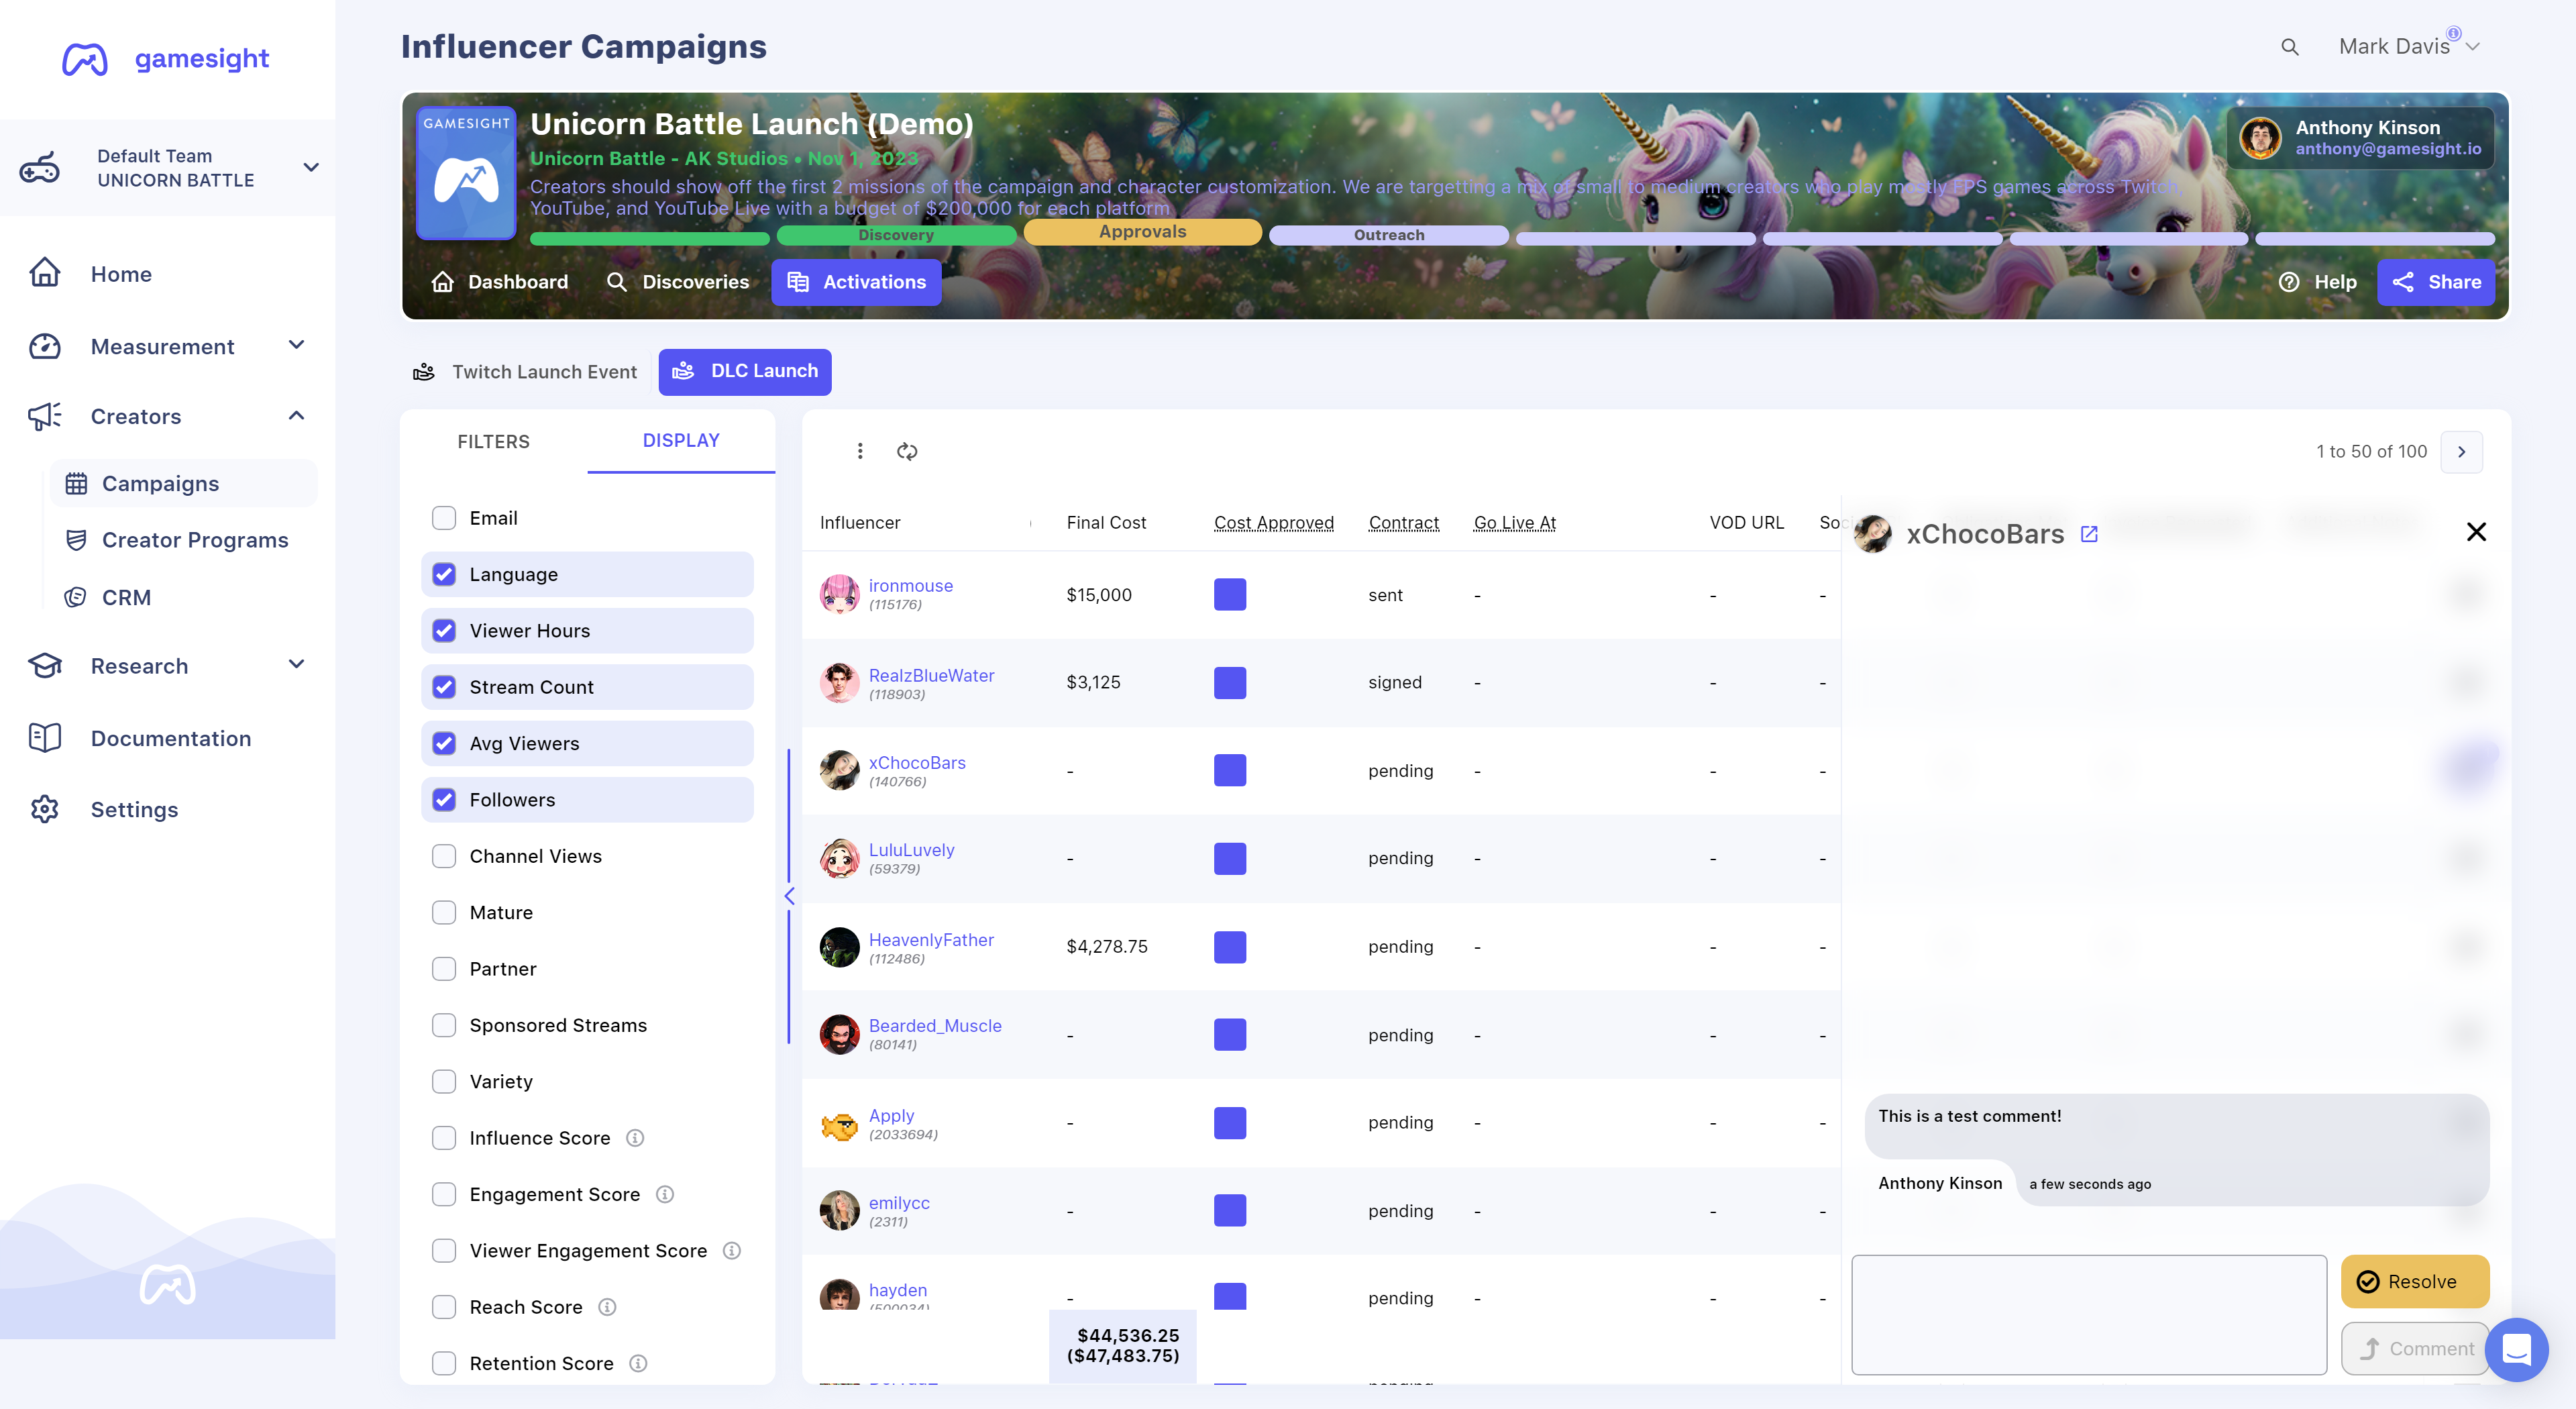
Comment Threads
You can utilize Comment Threads to discuss topics related to individual influencers similar to how comments work in spreadsheets. Using the comment feature will allow you to discuss things like cost approvals, questions related to deliverables or go-live dates, or anything else pertaining to a specific influencer. This feature is available on the Discoveries and Activations tabs as shown below:
Step 5. End of Campaign Report (EOC)
Our team will provide you with a comprehensive EOC Report at the conclusion of your campaign. This report will highlight key metrics that are important to your team and their goals, as well as give you deeper insights into your overall campaign's performance.
You learn more about our EOC Reporting here.
Updated 4 months ago