Google Ads
This guide helps you connect Gamesight with Google Ads. This integration supports both Cost Aggregation and Attribution customers.
Cost Aggregation Features
Simply linking your Google Ads account to Gamesight will enable Cost Aggregation, which includes:
- Syncing Google Ads' reported Clicks, Impressions, and Cost data (alongside your other marketing channels) into your Gamesight reporting
Attribution Features
As a Gamesight attribution customer, linking your Google Ads account to your Gamesight Tracker will enable you to:
- See Google Ads campaign performance alongside your other marketing channels in Gamesight
- Track which Google ads are driving actual game installs (not just clicks), as well as any post-install goals
- Send conversion data back to Google Ads so their algorithm can find more players like yours (automated, install-based optimization)
- Compare cost-per-install (CPI) and return on ad-spend (ROAS) across all your marketing channels
Integration Steps
Google Ads Account & Gamesight Data SyncingBefore proceeding with the account linking steps below, please be sure that you are using a game-specific Google Ads Account.
This Google Ads integration enables all active campaigns running in your Google Ads Account to sync back into Gamesight's reporting (including network reported impressions, clicks, and cost data).
1. Link your Google Ads Account
To link your Google Ads account to Gamesight:
- Click Trackers (under Measurement) on the left-hand side of Gamesight Console.
- Click the "Create" button at the top of the page as shown below.
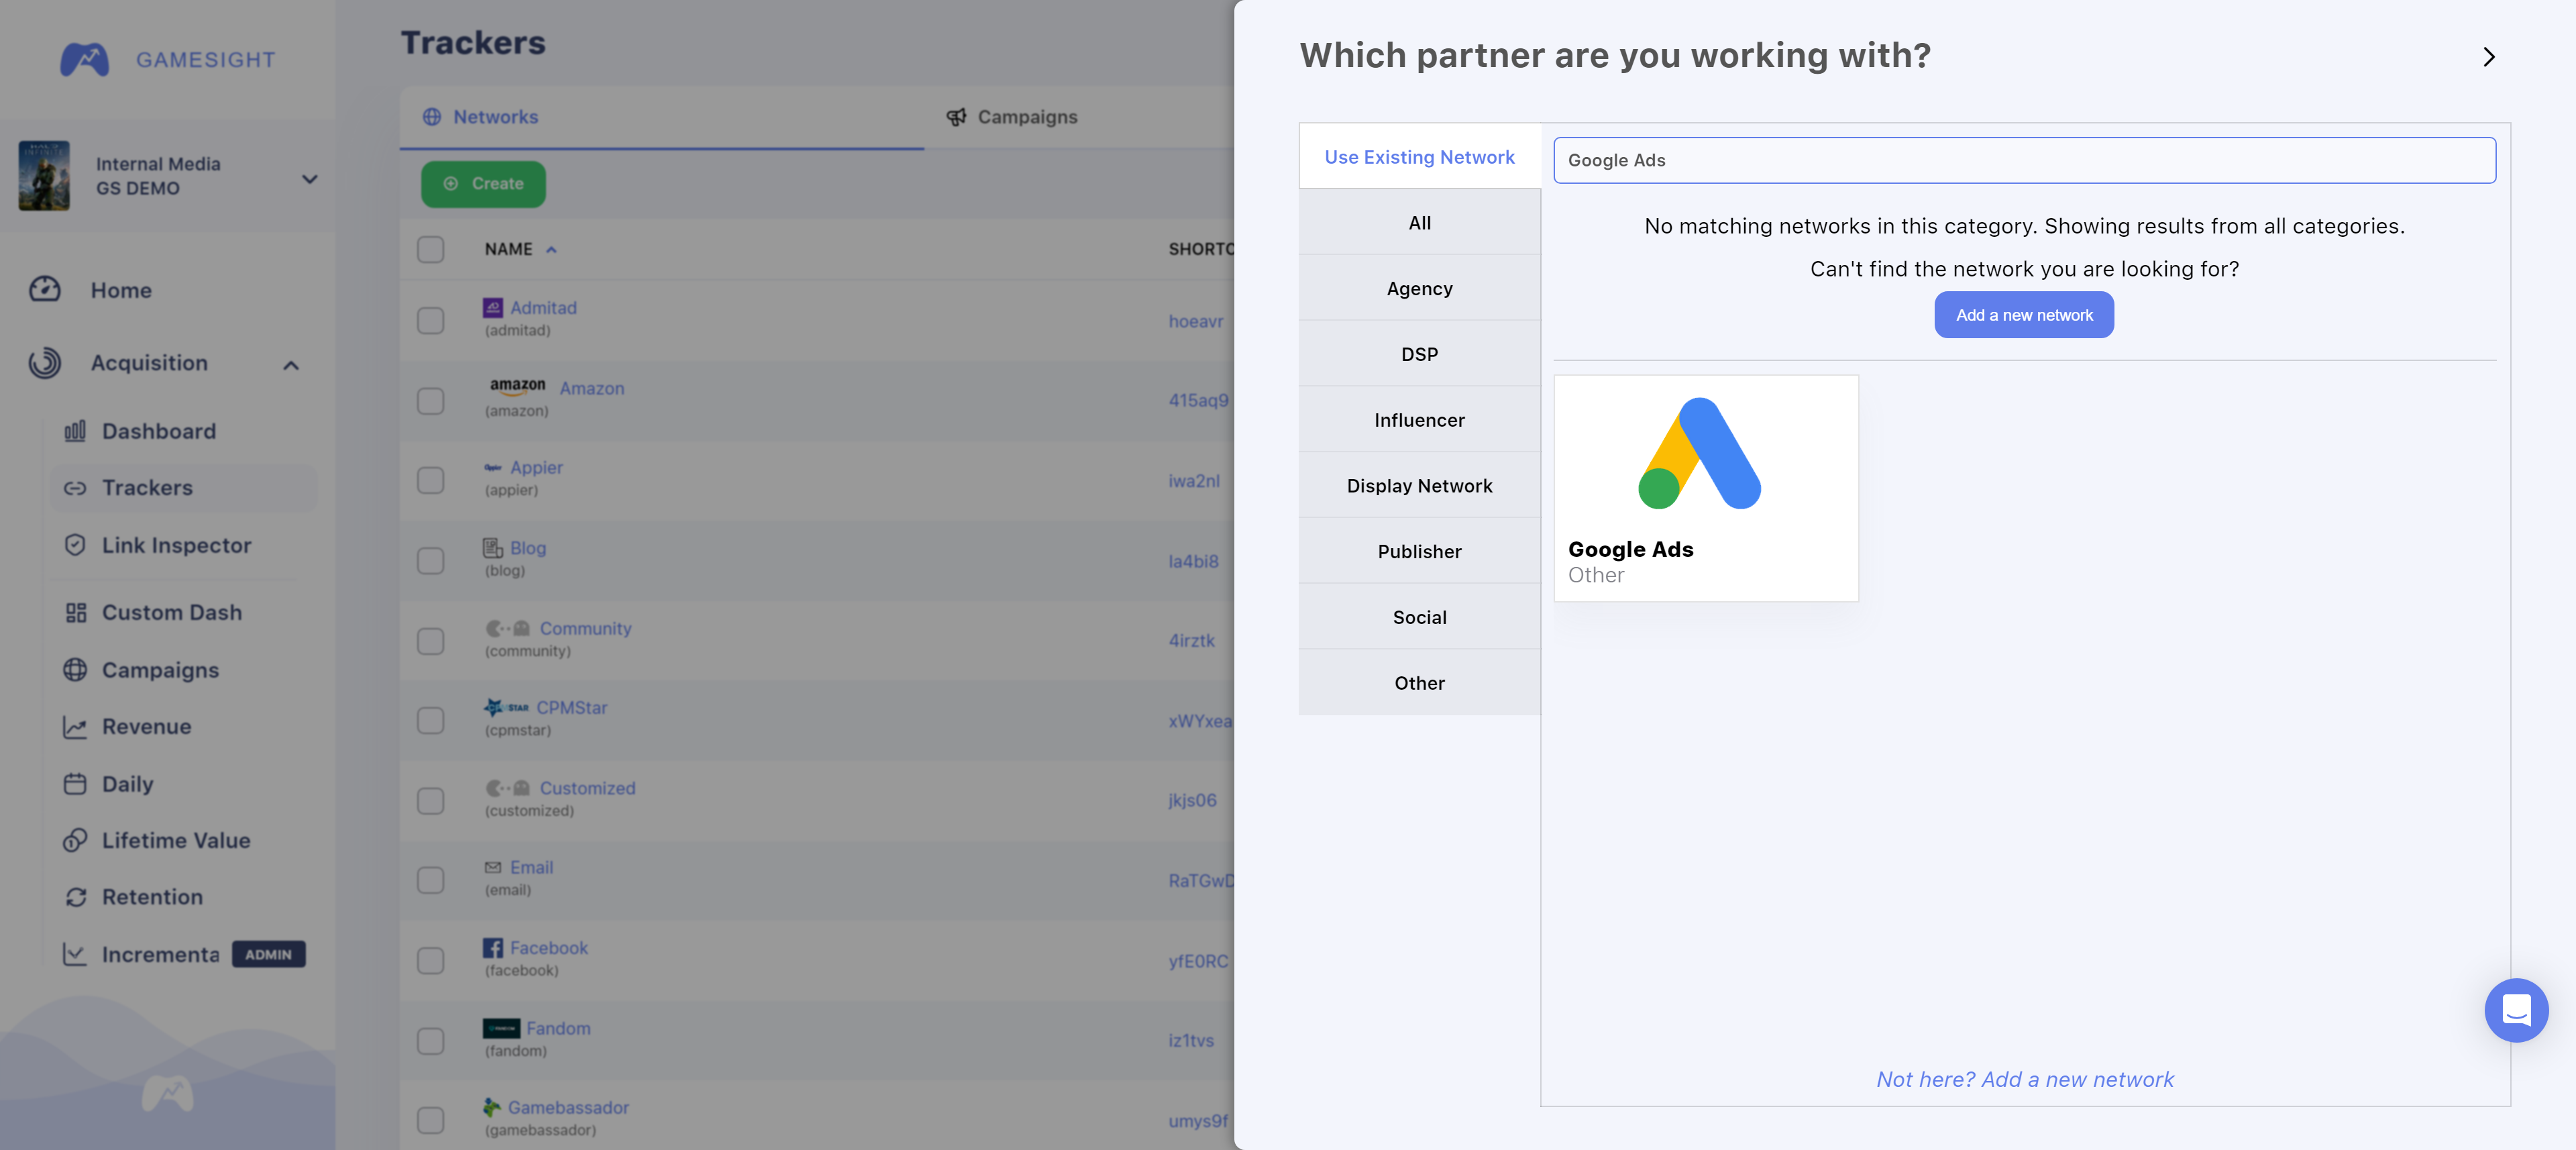
- Next, search for "Google Ads" and click on the Google Ads logo as shown below.
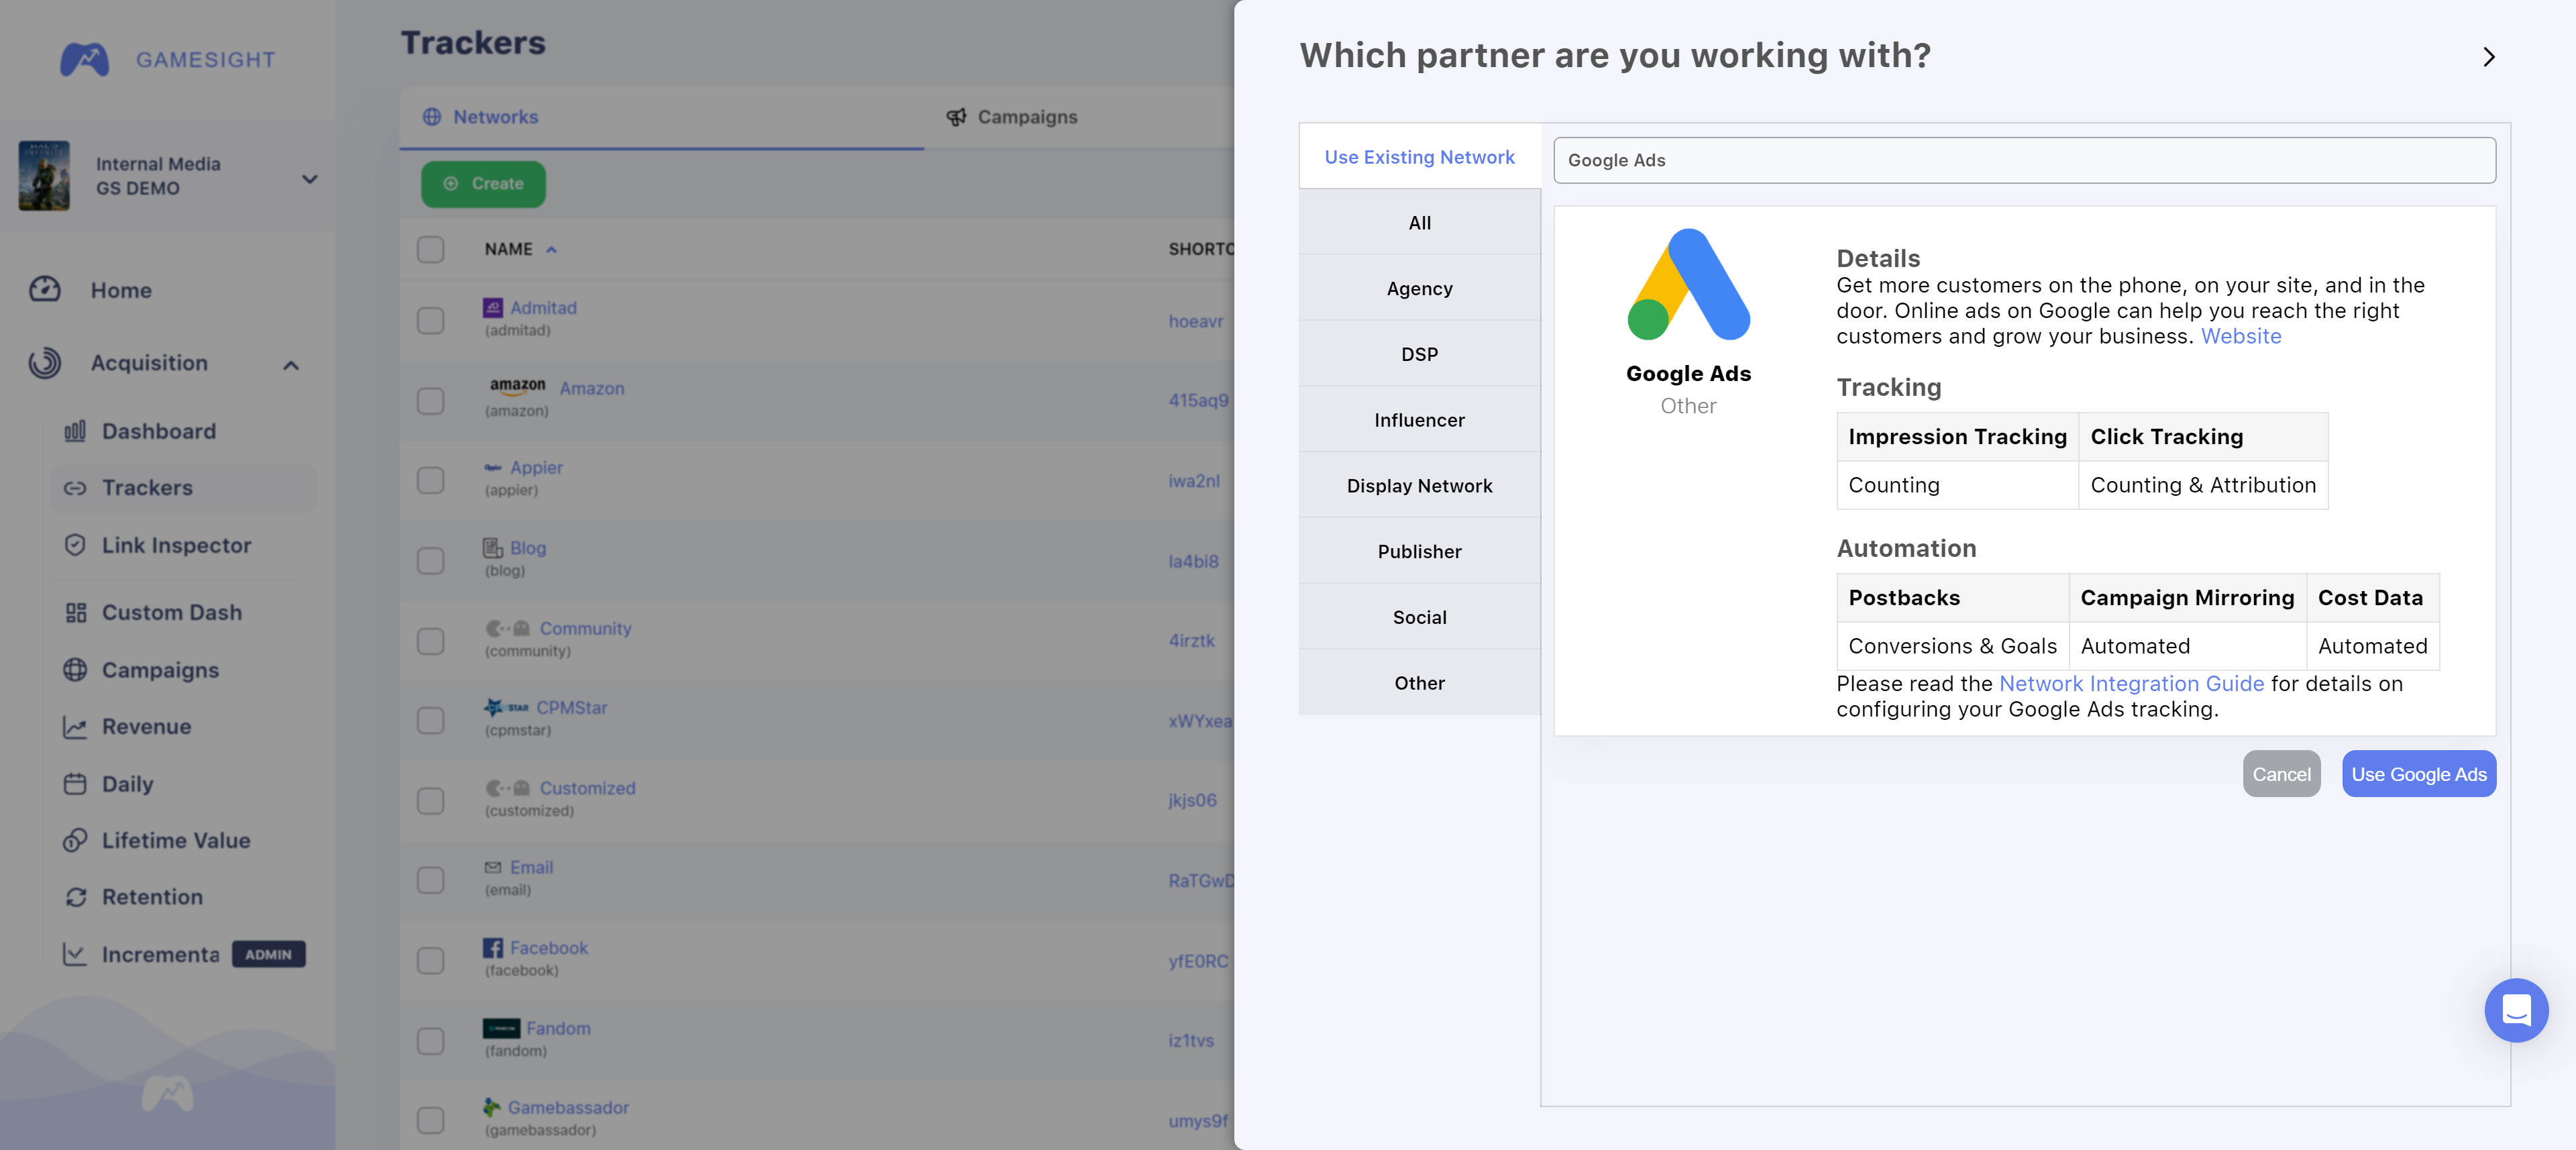
- Click "Use Google Ads".
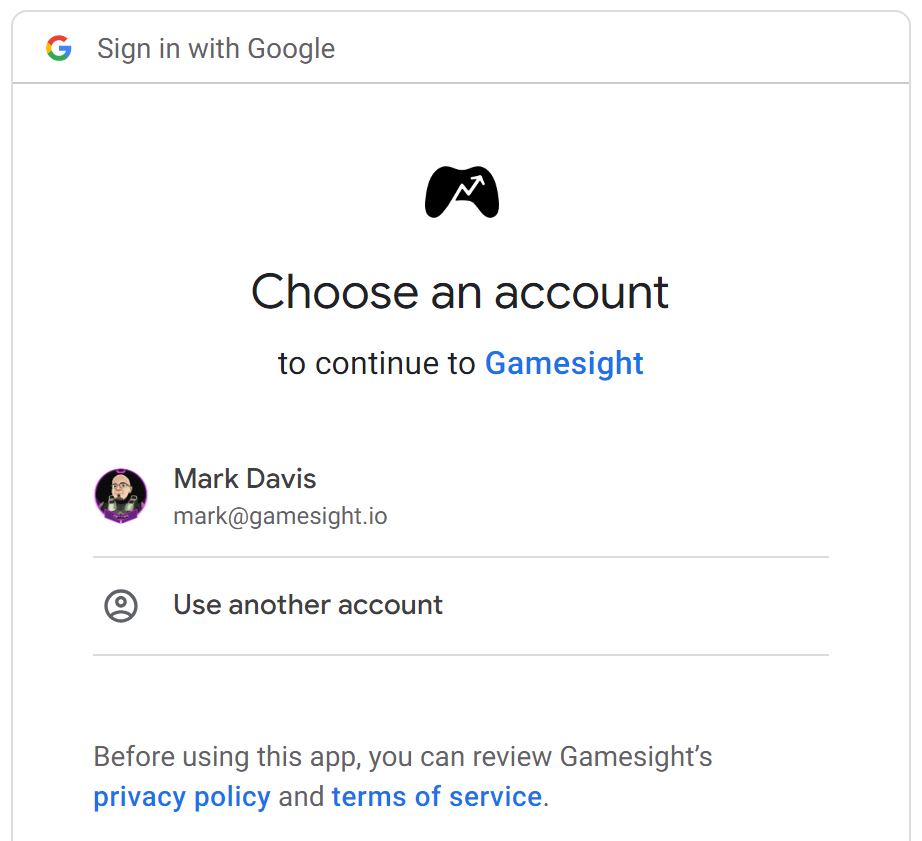
- Click "Authorize with Google Ads" and select your Google Ads account.
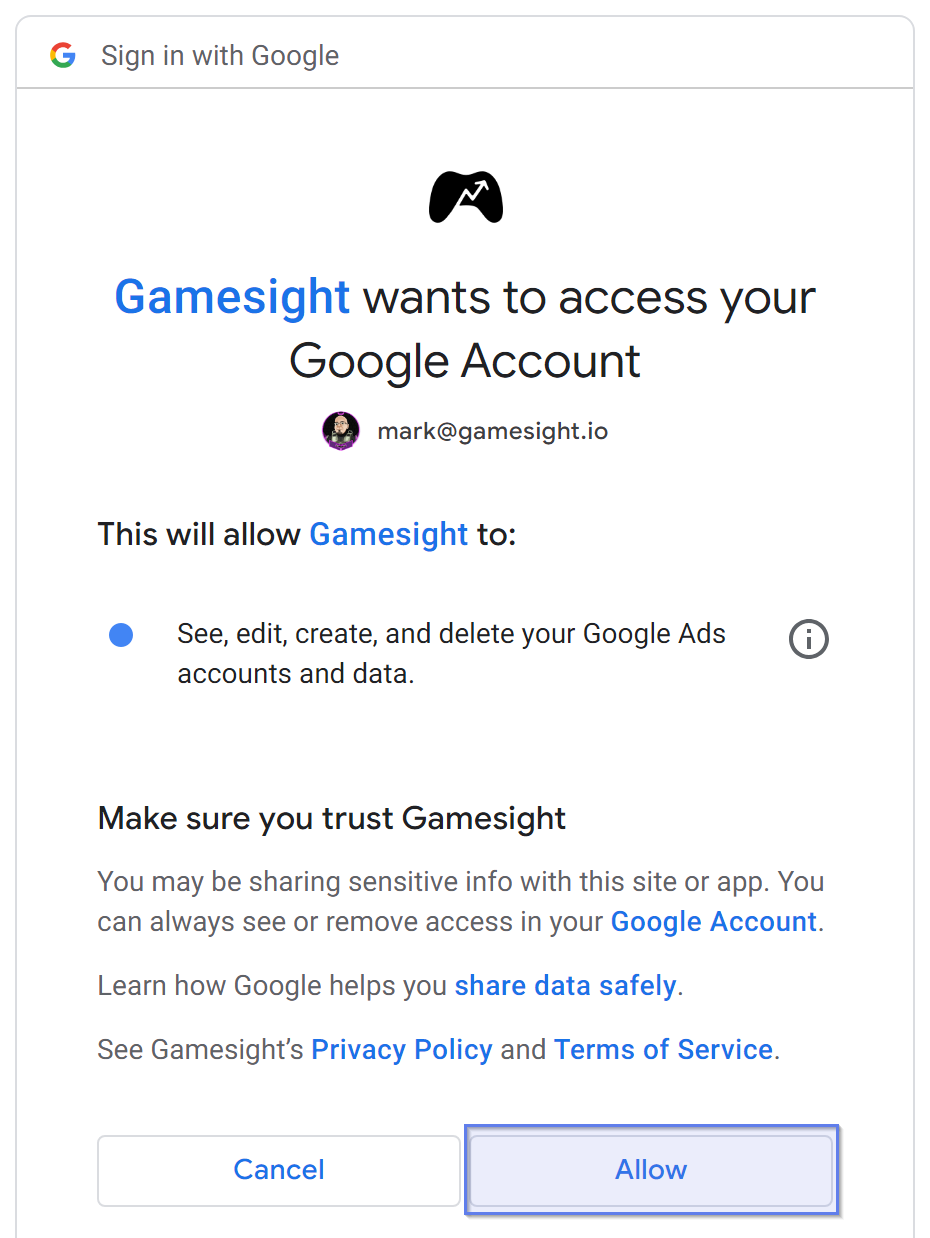
- Click "Allow" on the following access prompt.
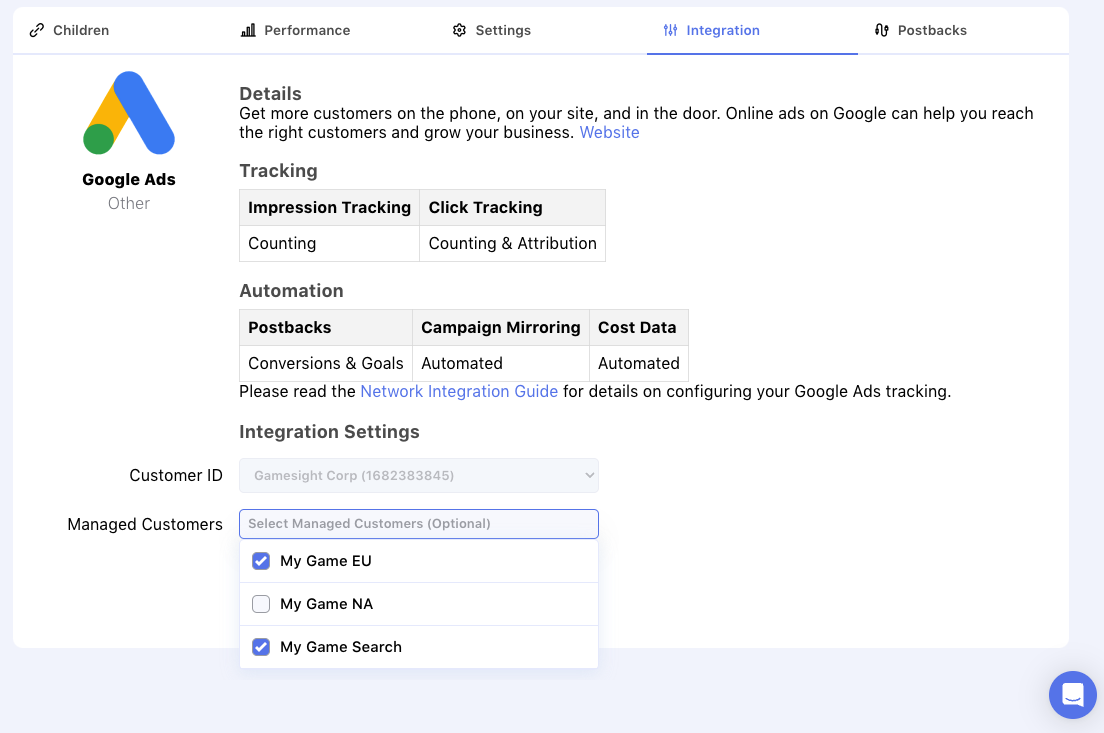
- Select the appropriate "Customer ID" on the following menu and click Next
Google Ads Manager AccountsAn additional input for "Managed Customers" will appear if the Customer ID you have selected is a Google Ads manager account. If you would like to setup a multi-ad account structure for reporting, you can use this field to link accounts to a single tracker.
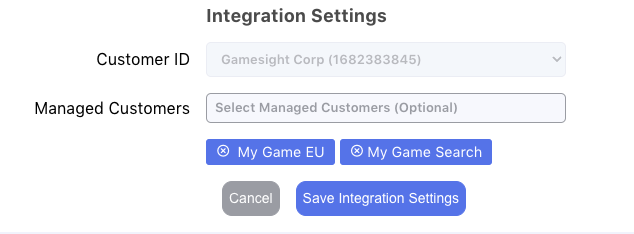
Click on the input to see a dropdown of Customer IDs connected to the selected manager account and choose the necessary accounts to link. If you'd like to remove a selected customer, you can delete it by clicking the "x" icon, or click the input and deselect the checkbox.
Be sure to click "Save Integration Settings" after making any updates.
Integration Complete!Your integration enabling Cost Aggregation is complete!
The remainder of this documentation will only be helpful to Gamesight Attribution customers
Attribution - Campaign Setup
This portion of our documentation requires that your Google Ads Tracker is created and your Google Ads account is linked to Gamesight. Jump to the top of this documentation for a detailed walkthrough.
For each Google Ads campaign that you want to enable attribution for, you need to:
- Create a Tracking Template in your Google Ads Campaign Settings:
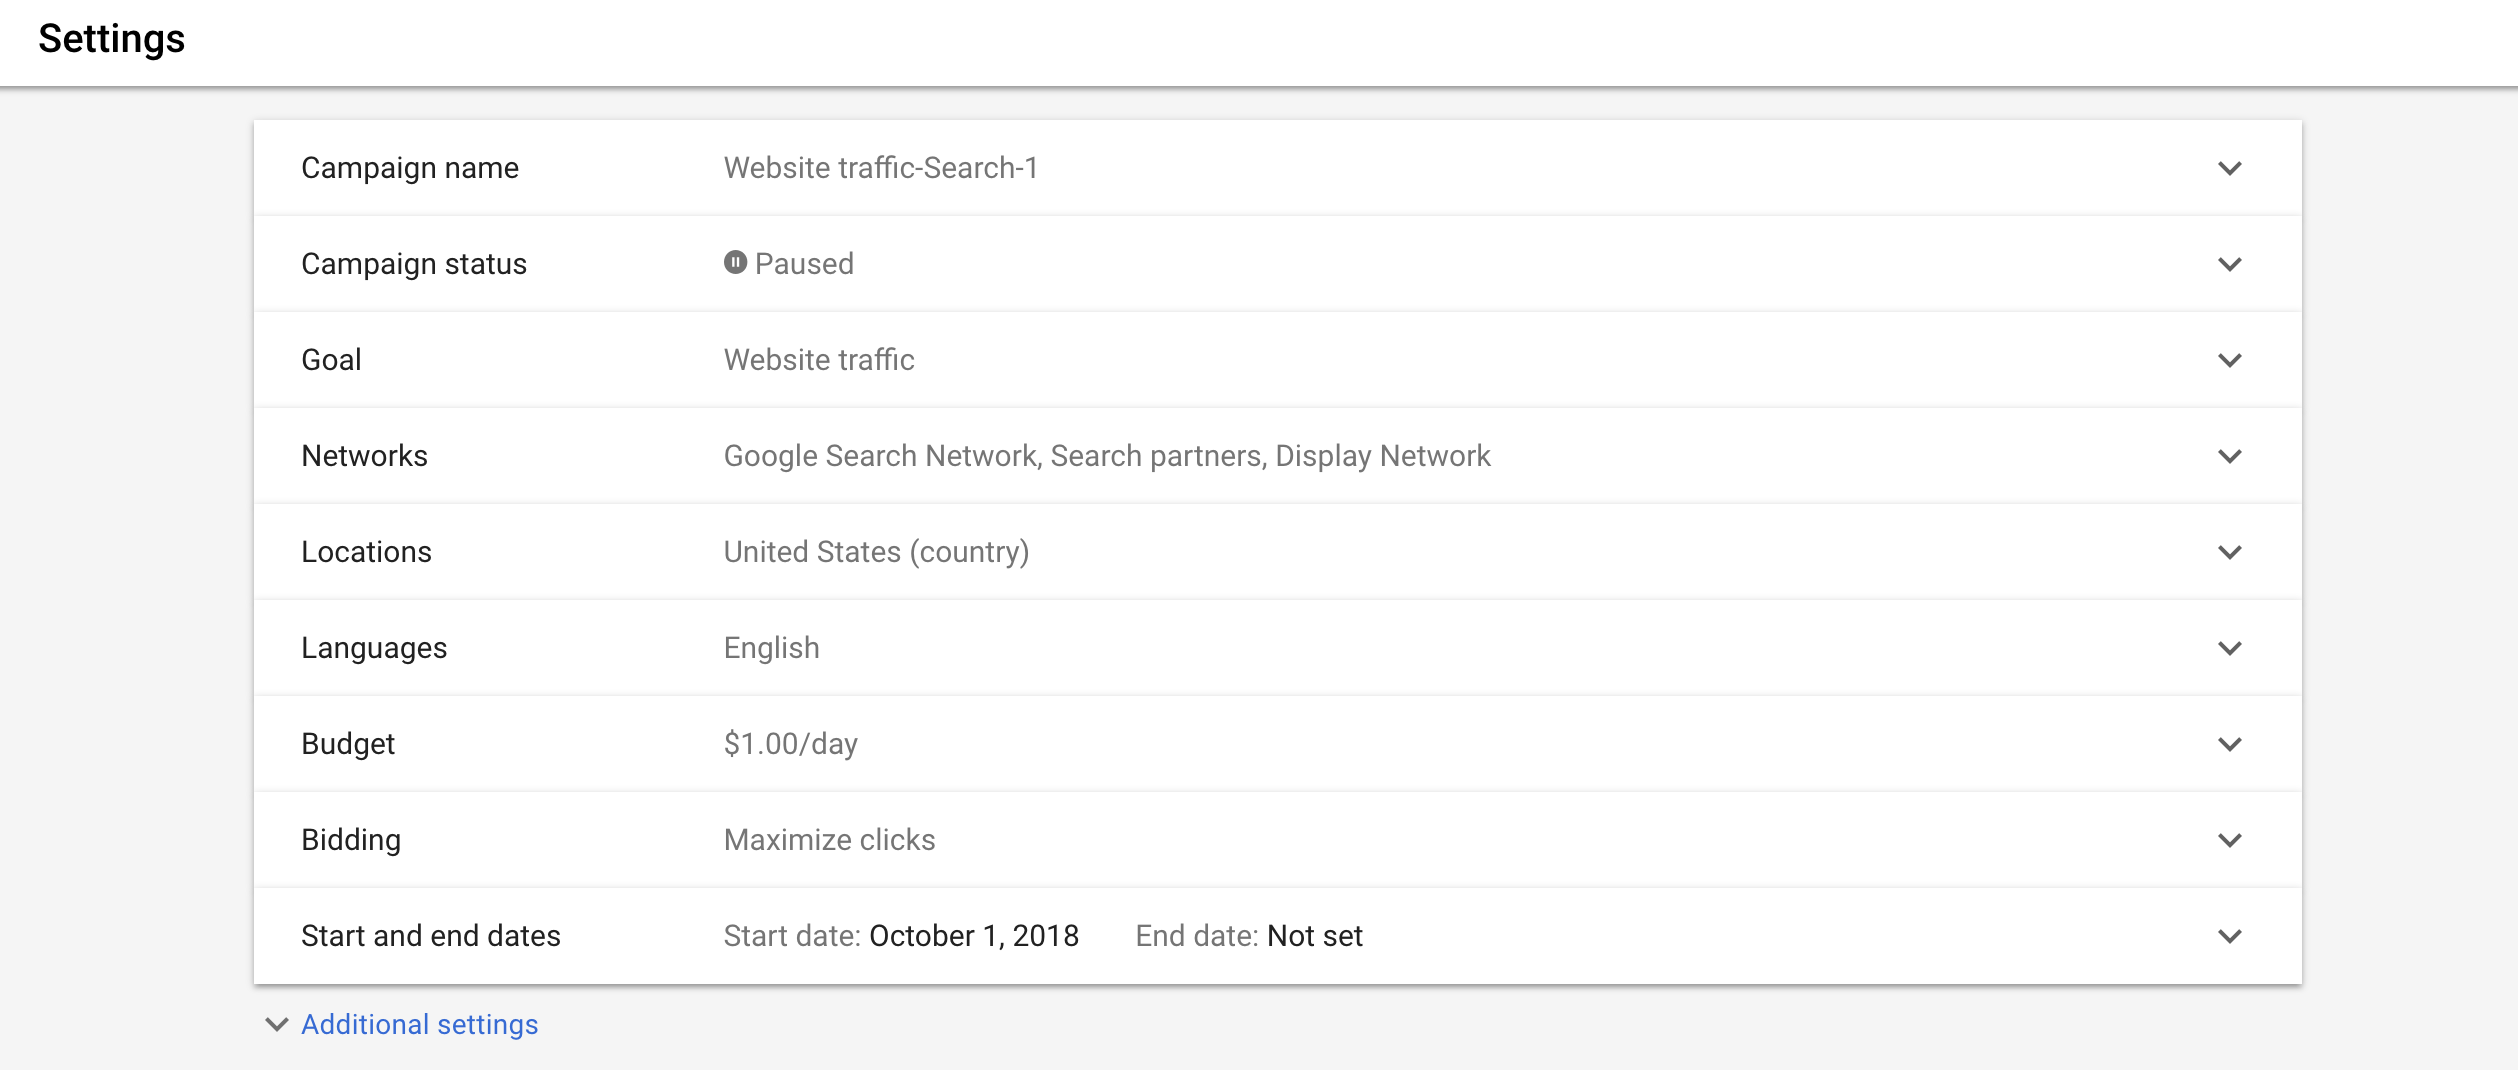
- Click "Additional Settings".
- Locate the Tracking Template under the Campaign URL options:
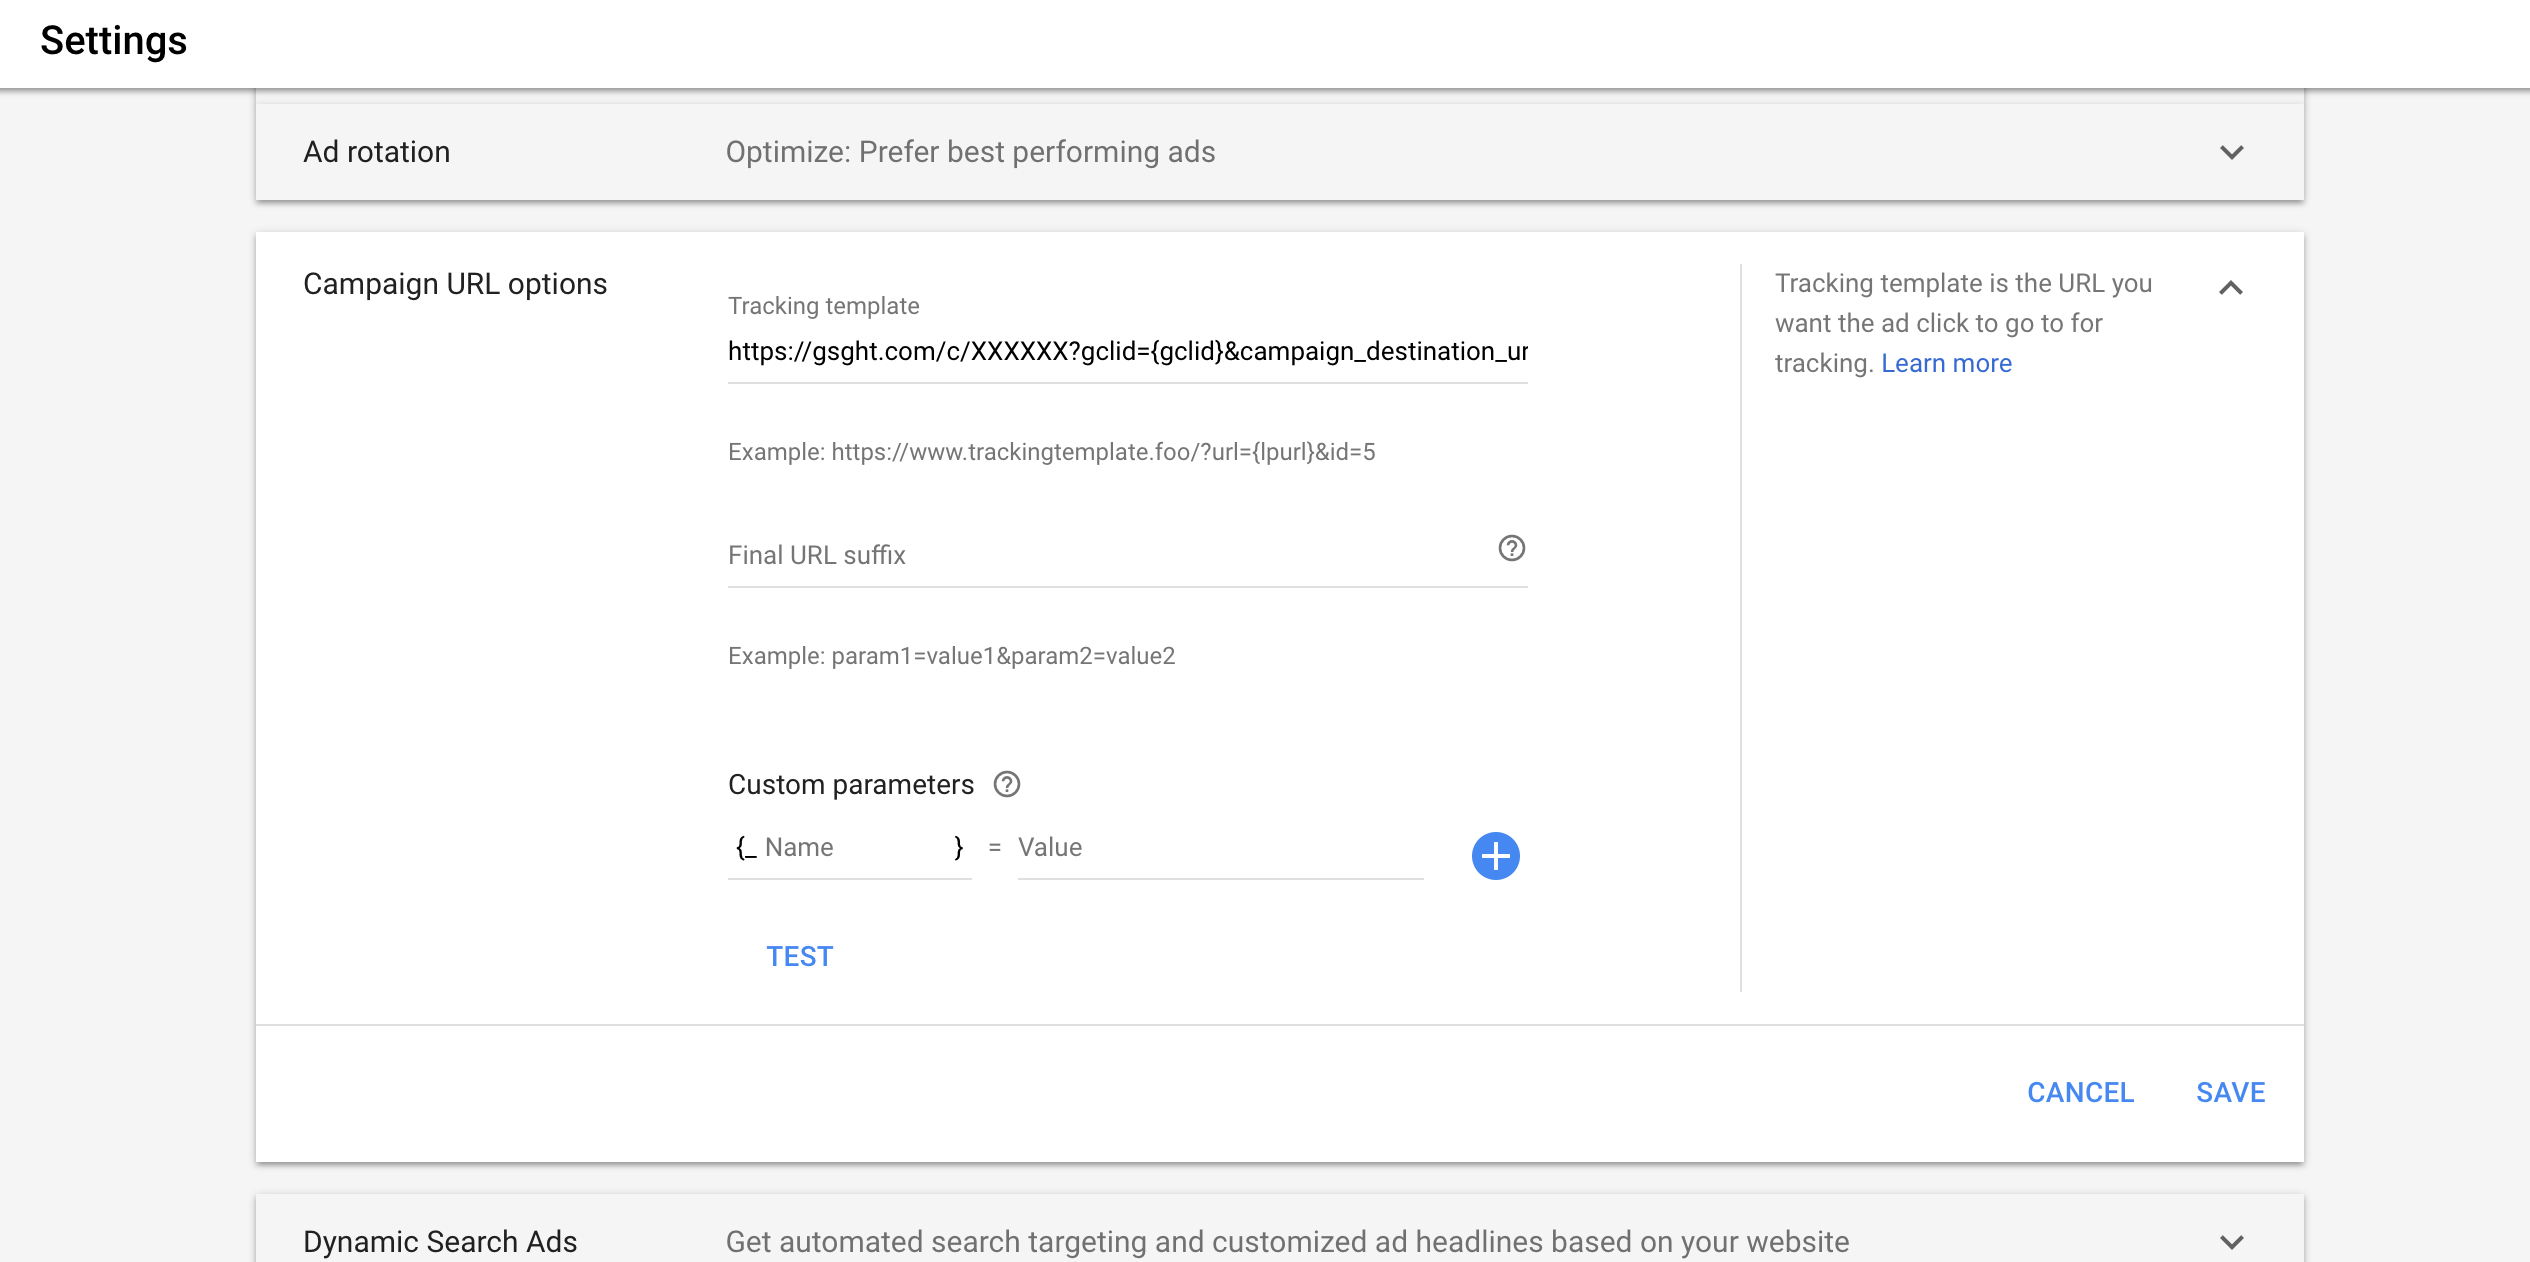
Copy and paste your Gamesight Click URL into the Tracking Template field.
Tracking Template vs Final URLYou must be sure to copy and paste your Gamesight Click URL from your Google Ads Tracker into the Tracking Template field to avoid errors and/or ad rejection.
The Final URL should be the landing page that you are sending users to.
We also recommend including a forward slash ("/") at the end of your Final URL to prevent any potential issues that could impact your landing page's UTMs. Example Final URL: https://gamesight.io/
Video Ad Tracking
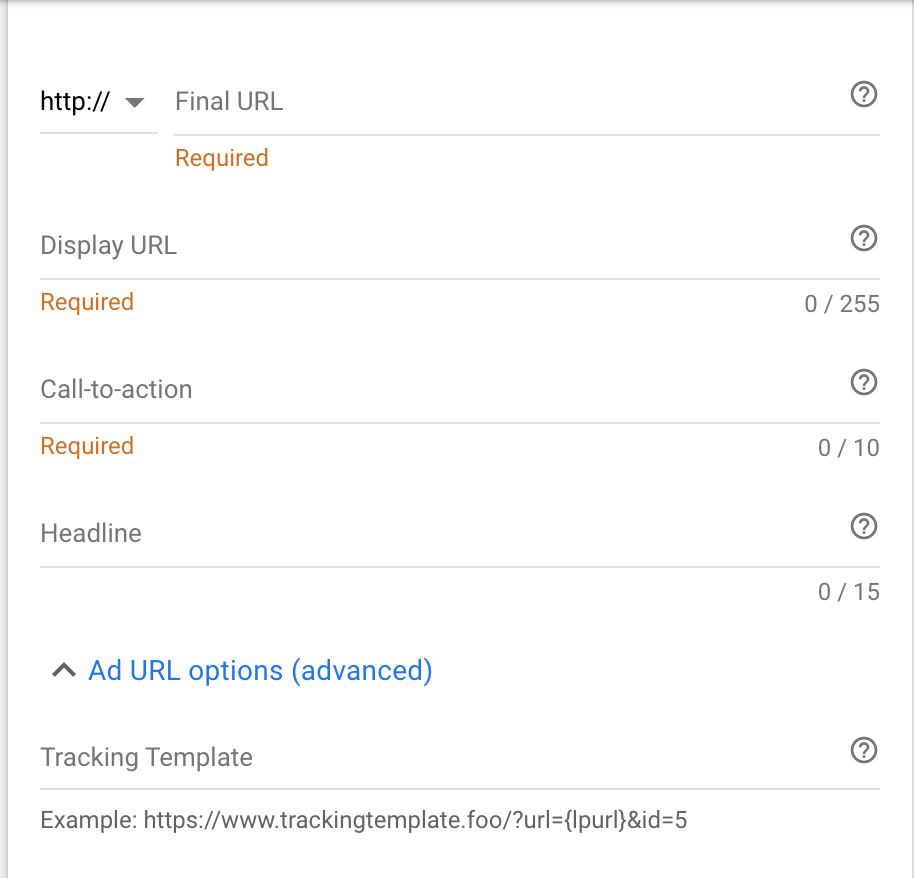
The same process is followed when setting up Video Ad Tracking. You will simply need to place your Gamesight tracking link into the "Tracking Template" field for your ad as shown in the image below:
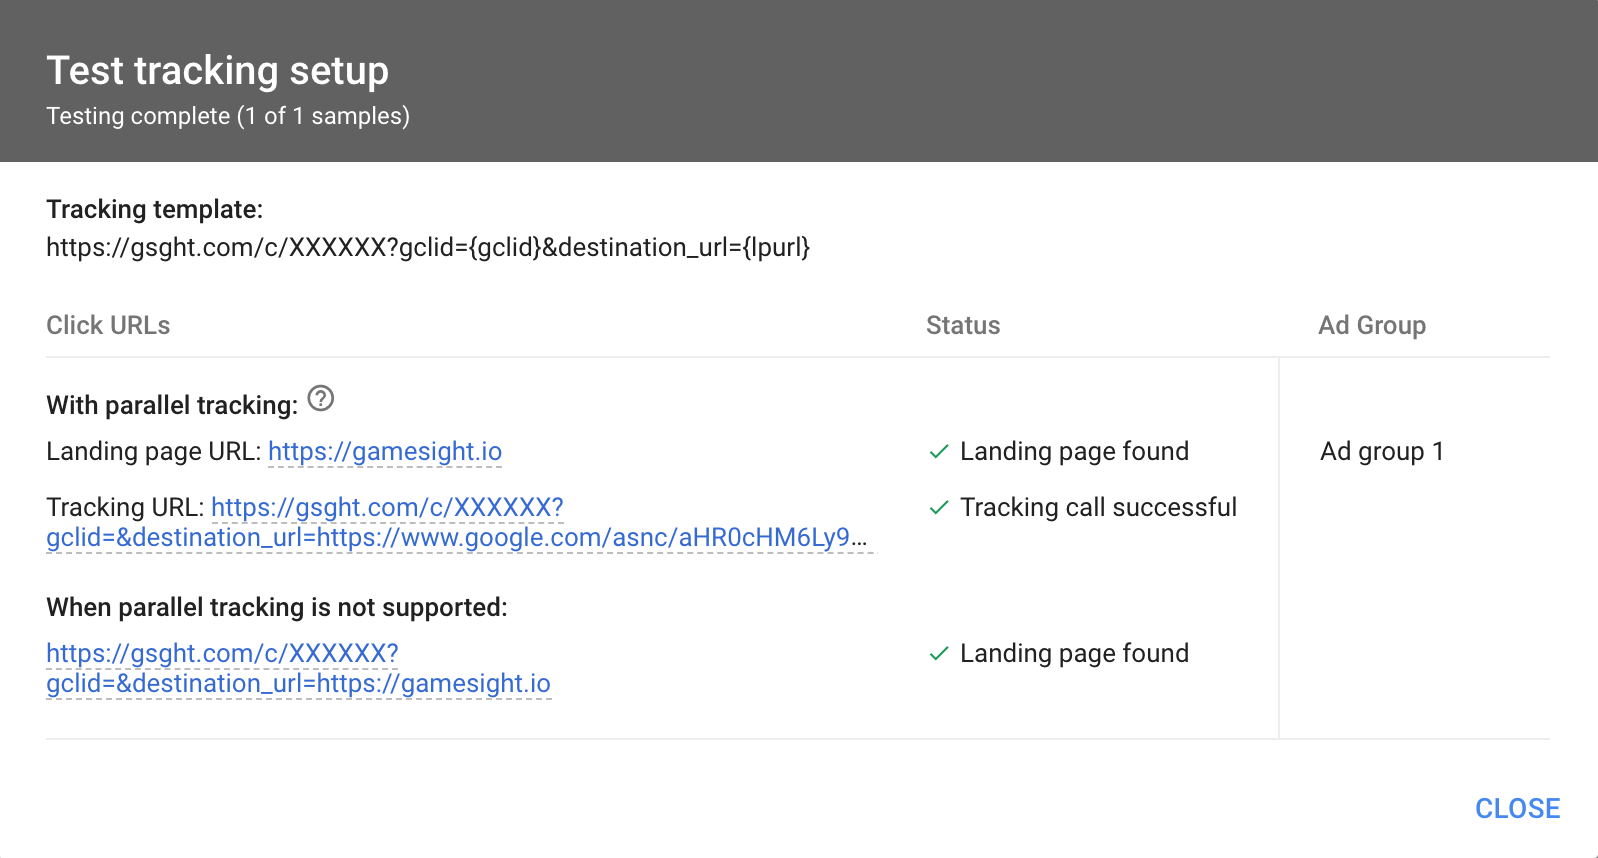
Test Tracking Setup
Click the Test button to ensure everything is redirecting to the correct page and then Save the Tracking template.
Multiple Landing Pages
Gamesight does not control the redirect in Google Ads. The Destination URL in Gamesight can be ignored for Google specifically.
To set up additional landing pages in Google Ads:
- Create a New Campaign
- Place your Gamesight Tracking Link in the Tracking Template field.
- Set the new Landing Page URL in the Final URL field
Destination URL HandlingThere are no required steps in your Gamesight dashboard. Google automatically replaces the "destination_url={lpurl}" portion of your Gamesight Tracking Link with the landing page that you choose in the above steps. This campaign will automatically sync and populate in your Gamesight dashboard once it is being trafficked.
Postback Conversions to Google Ads
Gamesight, in partnership with Google Ads, has created an integration for sending conversion data from Gamesight back to Google Ads, which enables Google Ads to:
- Show your ads to people more likely to install, purchase DLC, etc.
- Create lookalike audiences based on your actual players, while excluding existing players from seeing install ads
Google Ads Conversion Trackers
Gamesight requires a specific kind of Conversion Tracker to successfully send conversion data back to Google Ads.
To set up Conversion Trackers for Gamesight:
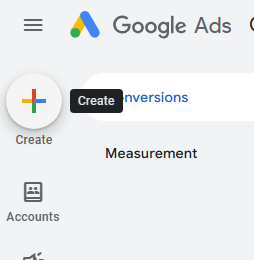
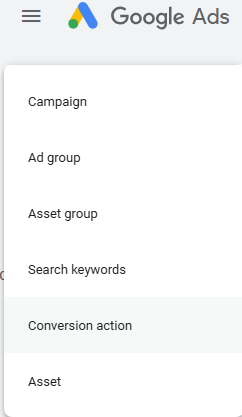
- Click "Create" in your Google Ads dashboard, followed by clicking on "Conversion Action".
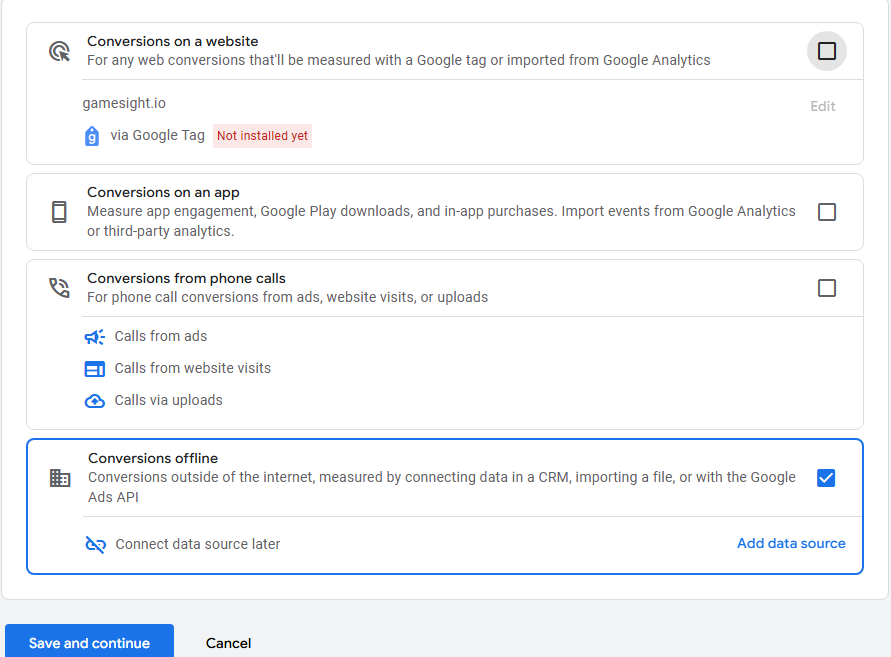
- Select "Conversions Offline" and click Save and continue:
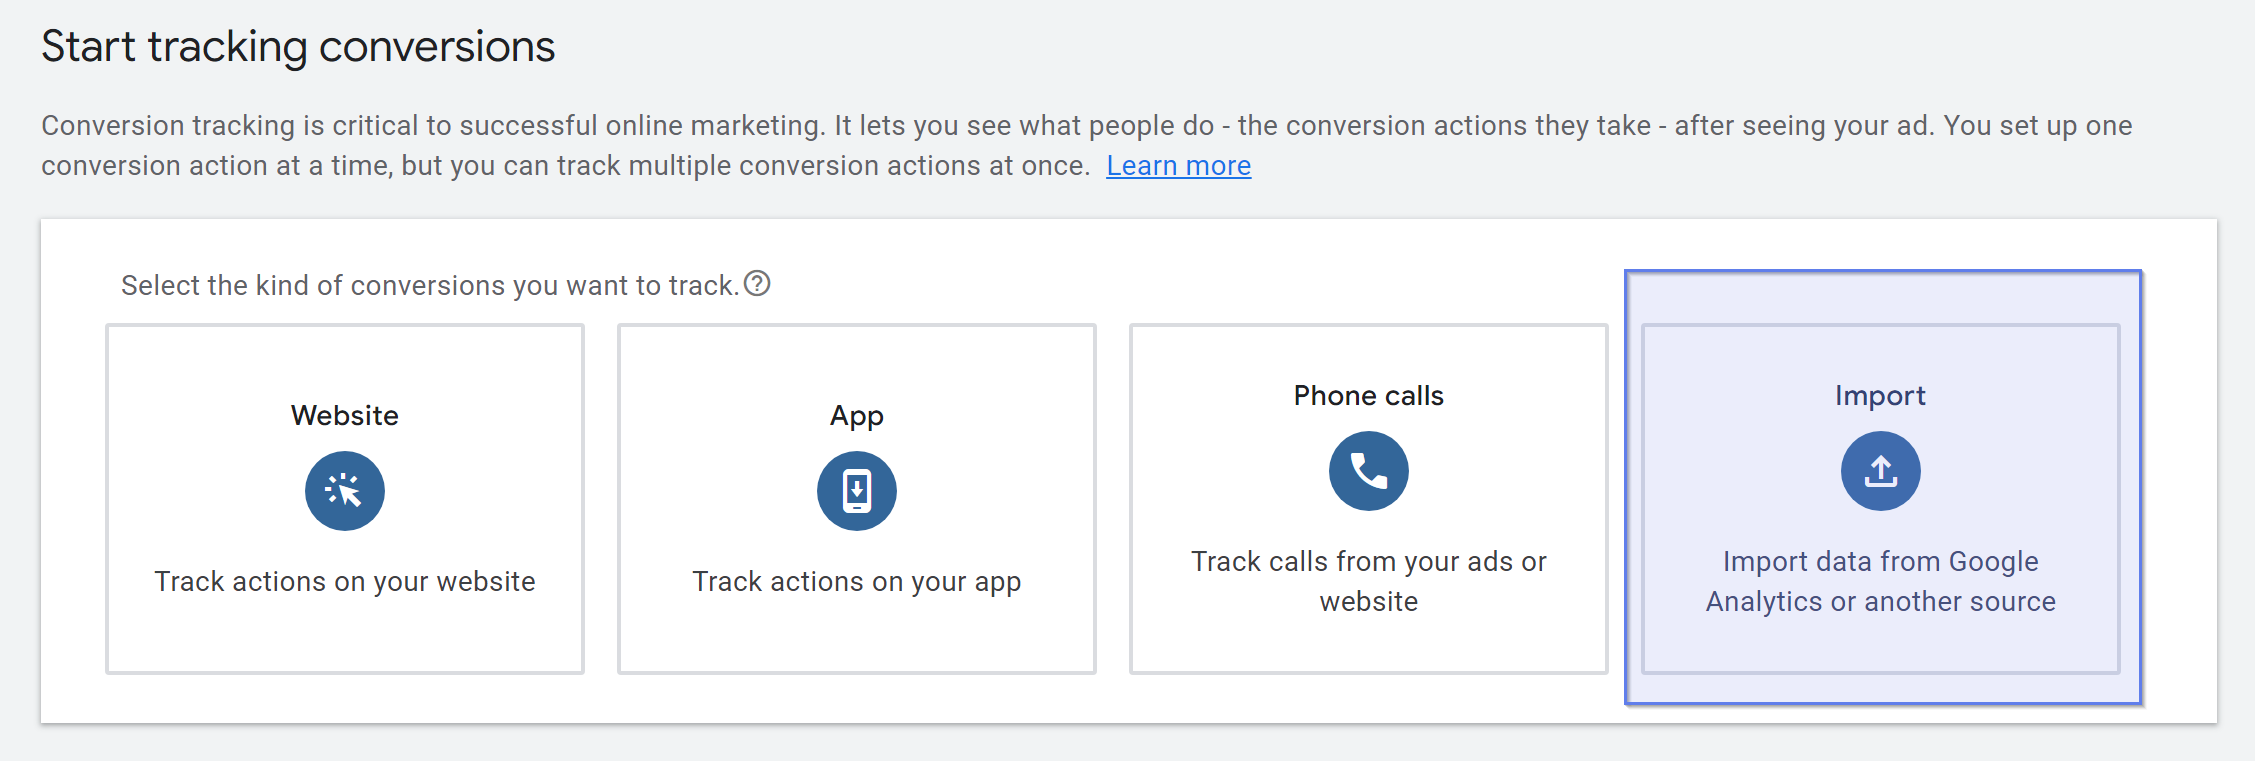
- Choose your Conversion Action's Category: (your choice does not impact Gamesight's postbacks)
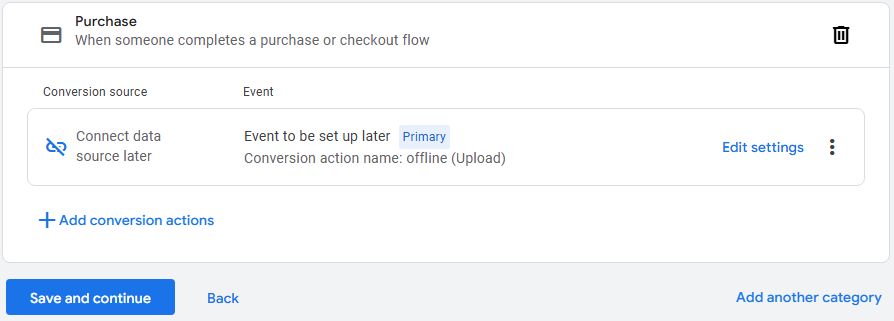
- Click +Add conversion actions and choose "Connect data source later":
- Click Save and continue and Finish:
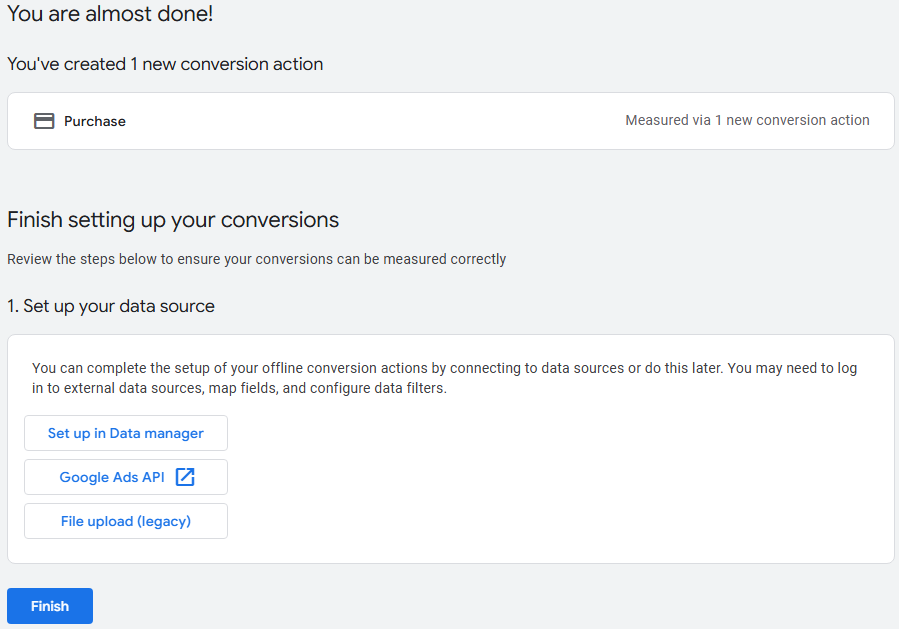
Now that you have created your Conversion Tracker, you can select it on the Postbacks tab of your Google Ads tracker in Gamesight.
Multiple Conversion TrackersYou can repeat the steps above in order to create individual Conversion Trackers for each Goal that you intend to set up a Postback for! Simply repeat the steps above to create additional Conversion Trackers for your postbacks.
Google Ads Conversions
It can take up to 4 hours for uploaded conversions to appear in your Google Ads dashboard. If after this amount of time you still aren't seeing successful conversion uploads, please contact support.
Additionally, Google Ads reports conversions by "Date of Click" by default. You can view this Google doc for an explanation of this behavior: Google Conversion Tracking
If you would like to change your reporting to view conversions "By Conversion Date", this Google doc will walk you through the process: Conversions By Time
Troubleshooting
In the table below, we go over some common questions surrounding Google Ads campaigns, performance, etc.
| Issue | Resolution |
|---|---|
| Google Ads are being rejected for mismatched landing pages. | This can be resolved by placing your Gamesight tracking link into the Tracking Template field. The Final URL should be the landing page where users are sent. |
| Campaigns report showing discrepancies in install/click volume/performance | Hovering over the "Clicks" number for each Google Ads campaign will show you the number of clicks recorded by Gamesight versus the number reported by Google. The Gamesight number should be larger than Google's (Google filters traffic that we do not). |
| Google reporting a larger click count than Gamesight | Make sure that the Gamesight tracking link is placed in your ad's Tracking Template. If this is the case, it may be likely that your ad was live prior to the Gamesight link being placed in the Tracking Template and some clicks were not tracked as a result. |
| Gamesight Destination URL is not working for my ads in Google | Google will always dictate the landing page of your ads based on the URL that you place in the Final URL field of your ad. |
Updated 5 months ago
