Google Campaign Manager
Integration Features
Linking your Google Campaign Manager account to Gamesight enables you to send conversion data from Gamesight back to Google Campaign Manager using "Match ID" for offline conversions. This helps Google Campaign Manager's algorithm to optimize towards users more likely to convert.
Postback Integration OnlyThis integration is only required to post conversions back from Gamesight to Google Campaign Manager Floodlight Tags.
If you do not require this functionality, you can simply place the Gamesight click tracking link as a click event tag on your DCM ads to track conversions in Gamesight as normal.
Integration Steps
1. Create Required Floodlights
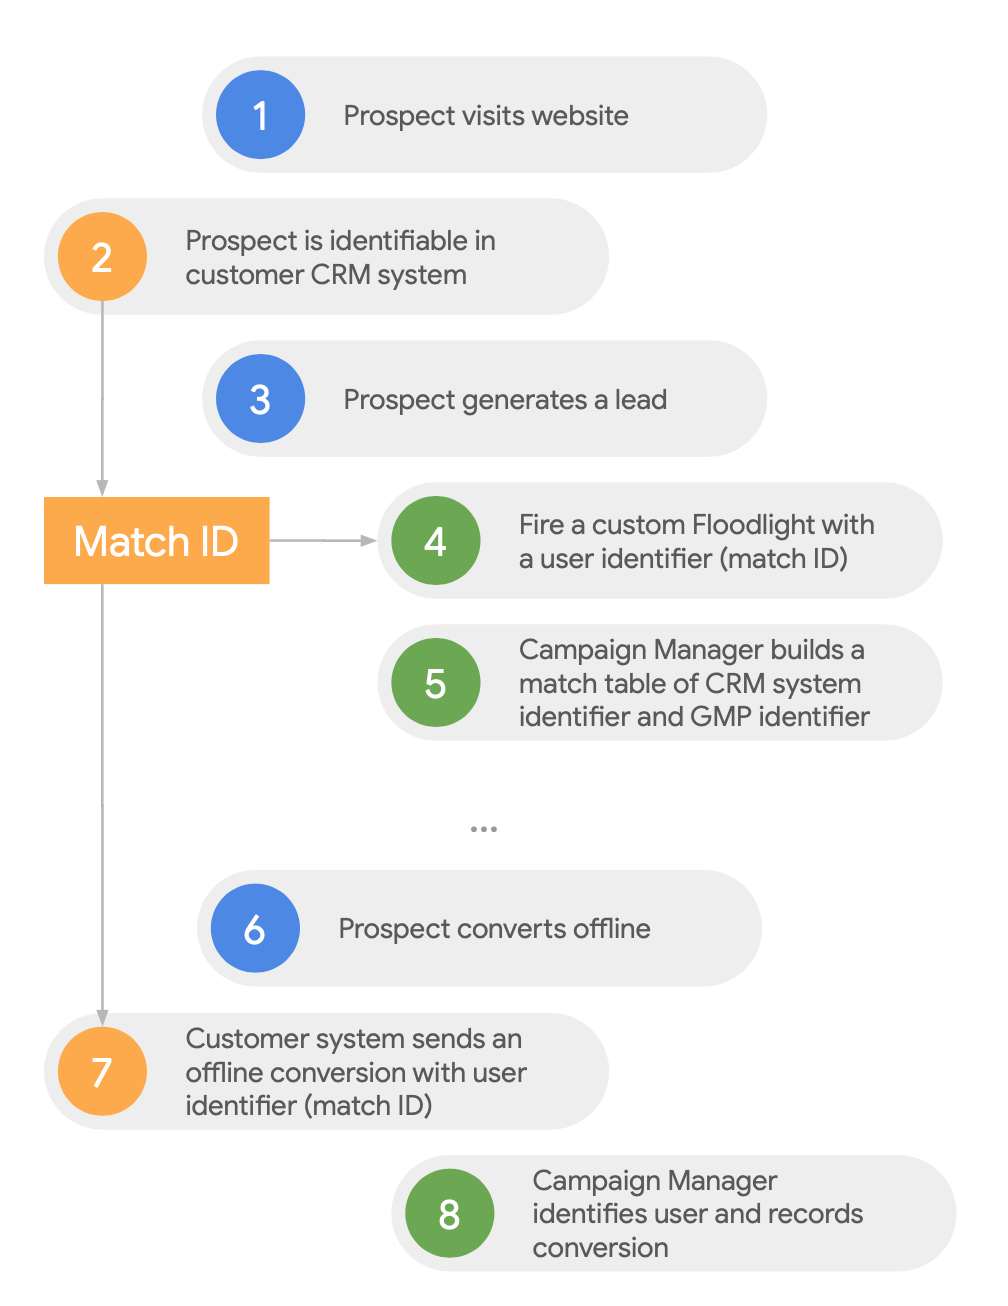
To support the Match ID association process, you'll need to create 2 separate Floodlights:
Lead Generation/Pageview Floodlight
- Acts as a placeholder to create the Match ID association between Gamesight and Campaign Manager.
- Triggers when users load your game's marketing page.
Offline Conversion Floodlight
- The target floodlight where Gamesight uploads offline conversions when users convert.

Here's how the Match ID offline conversion process works with both Floodlights (orange steps are handled automatically by Gamesight):
2. Install Web Measurement SDK & Floodlight Tag
Landing Page RequiredUsers must be driven to a landing page that you control to perform the Match ID association for posting conversions to Floodlight Tags. This cannot be accomplished by sending users directly to a storefront.
Once your Floodlights are created, install the Gamesight Web Measurement SDK on your game's marketing site (or wherever you're driving traffic). The Web Measurement SDK Quick Start provides detailed installation steps.
Gamesight Web SDK
You can locate your Gamesight Web SDK Snippet on the Management page by clicking Settings > In-game Integration.
Match ID Association Setup:
Add this snippet to establish the Match ID association with the user's 'gsid' on page load:
<script>
gsght('onload', function(){
  gtag('config', 'DC-[leadFloodlightConfigID]');
  gtag('event', 'conversion', {
    'allow_custom_scripts': true,
    'send_to': 'DC-[leadFloodlightConfigID]/[activityGroupTagString]/[activityTagString]+[countingMethod]',
    'dc_custom_params' : {
      'match_id': gsght('get', 'gsid')
    }
  });
});
</script>
Match ID ReportingMatch IDs are not reportable and cannot be verified through the Google Campaign Manager UI.
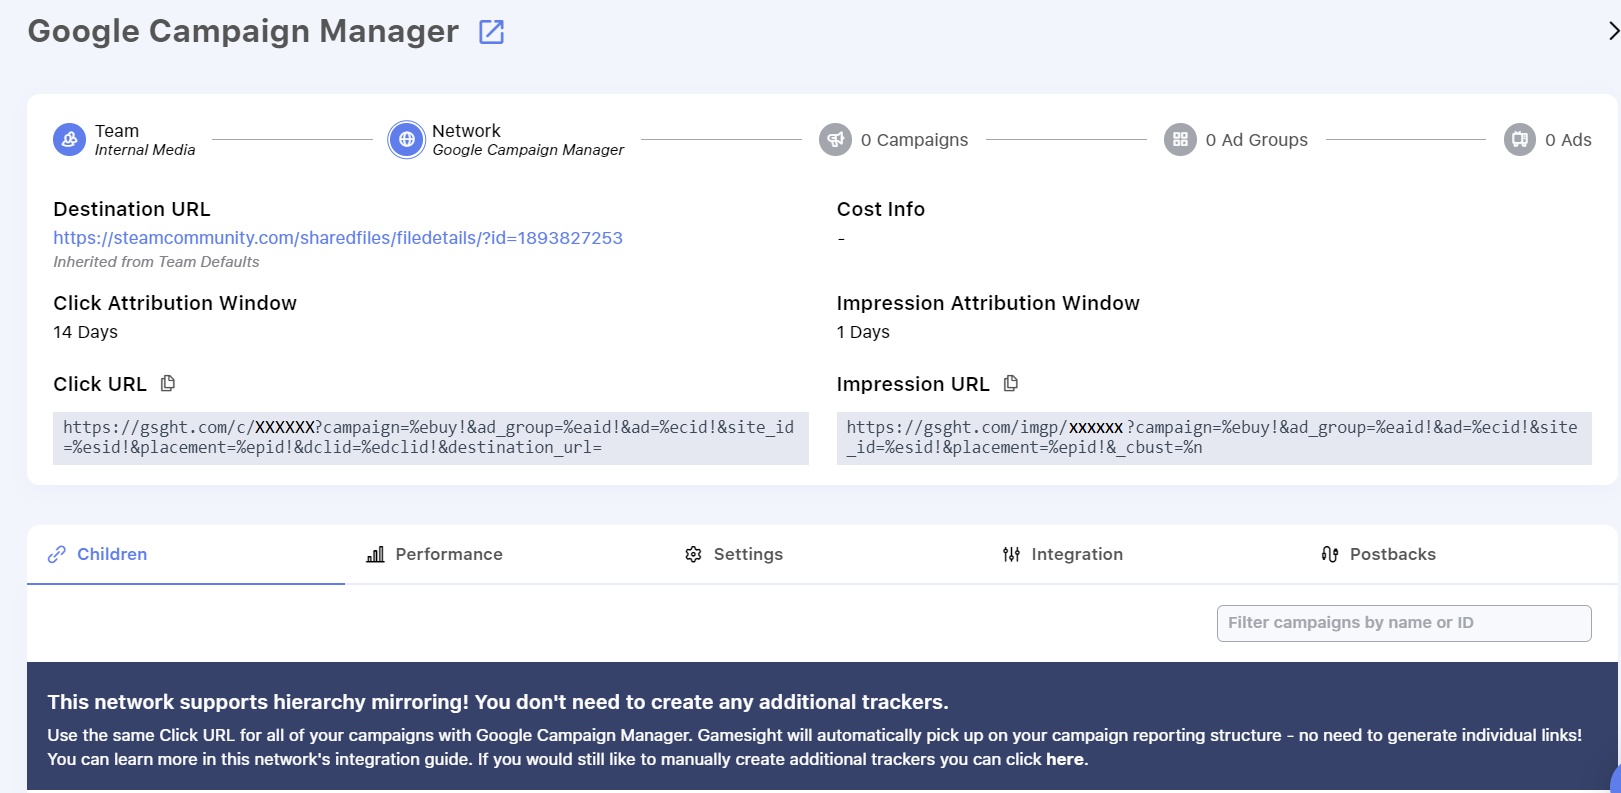
3. Create Your Google Campaign Manager Tracker
To link your Google Campaign Manager account to Gamesight and create your Tracker:
- Click Trackers (under Measurement) on the left-hand side of Gamesight Console.
- Search for "Google Campaign Manager" and click on the Google Campaign Manager logo.
- Click "Use Google Campaign Manager".
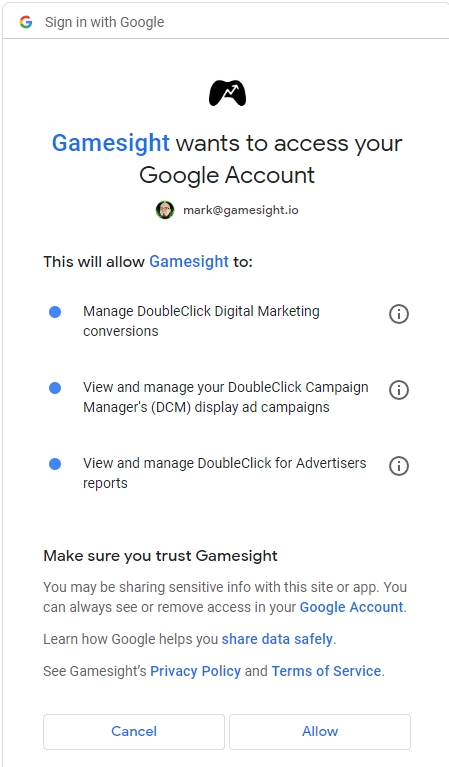
- Click "Authorize with Google Campaign Manager" and select your Google Campaign Manager account.
- Click "Allow" on the following access prompt.
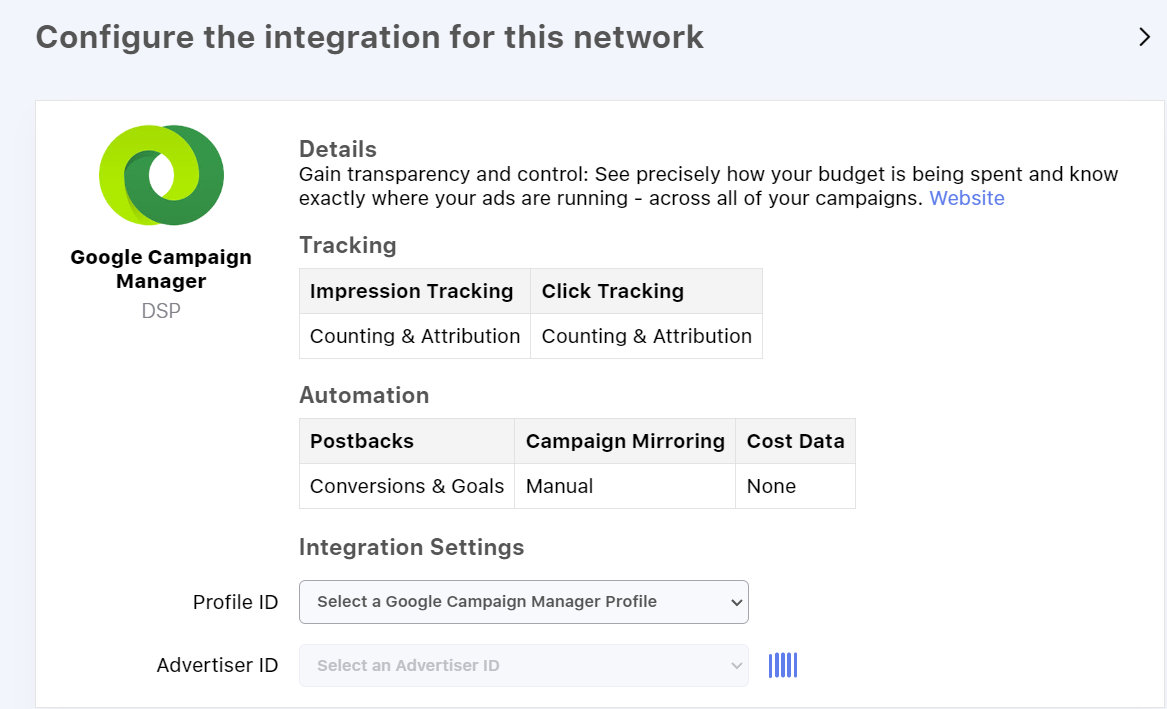
- Select the appropriate "Profile ID" and "Advertiser ID" from the dropdown menus, then click "Next".
- Note your Click URL and Impression URL - they should appear as shown below:
4. Create Event Tags in Google Campaign Manager
Create impression and click event tags in Google Campaign Manager using your Gamesight tracking URLs. You can find detailed steps in Google's Event Tag documentation.
You can use the same tracking links across multiple campaigns.
Campaign Manager & Destination URLThe Destination URL shown in Gamesight for your Campaign Manager tracker can be ignored. Set your landing page directly in Campaign Manager.
Troubleshooting
| Issue | Resolution |
|---|---|
| The account I'm looking for doesn't appear after linking my Campaign Manager account. | The account may not have correct permissions enabled. Check Google's CM360 troubleshooting guide and ensure you have "Insert offline conversions" permission, as detailed here. |
Updated 10 months ago