GSuite SAML Configuration
This guide walks you through the process of configuring SSO to Gamesight through GSuite using SAML.
1. Gather Information
The first step is to contact your Gamesight account manager to get they SAML add-on service enabled for your account. Once that is completed you should receive an ACS URL and Entity ID in the following formats
| Field | Example |
|---|---|
| ACS URL | https://api.marketing.gamesight.io/app/saml/{org_id}/auth |
| Entity ID | https://api.marketing.gamesight.io/app/saml/{org_id}/metadata |
Once you have these two values from your account manager, you can continue on to the next step.
2. Set Up GSuite SAML App
Once you have your ACS URL and Entity ID, the next step is configuring your Gamesight SAML application in the GSuite Admin dashboard. You will need to have administrative permission within your GSuite organization to complete these steps.
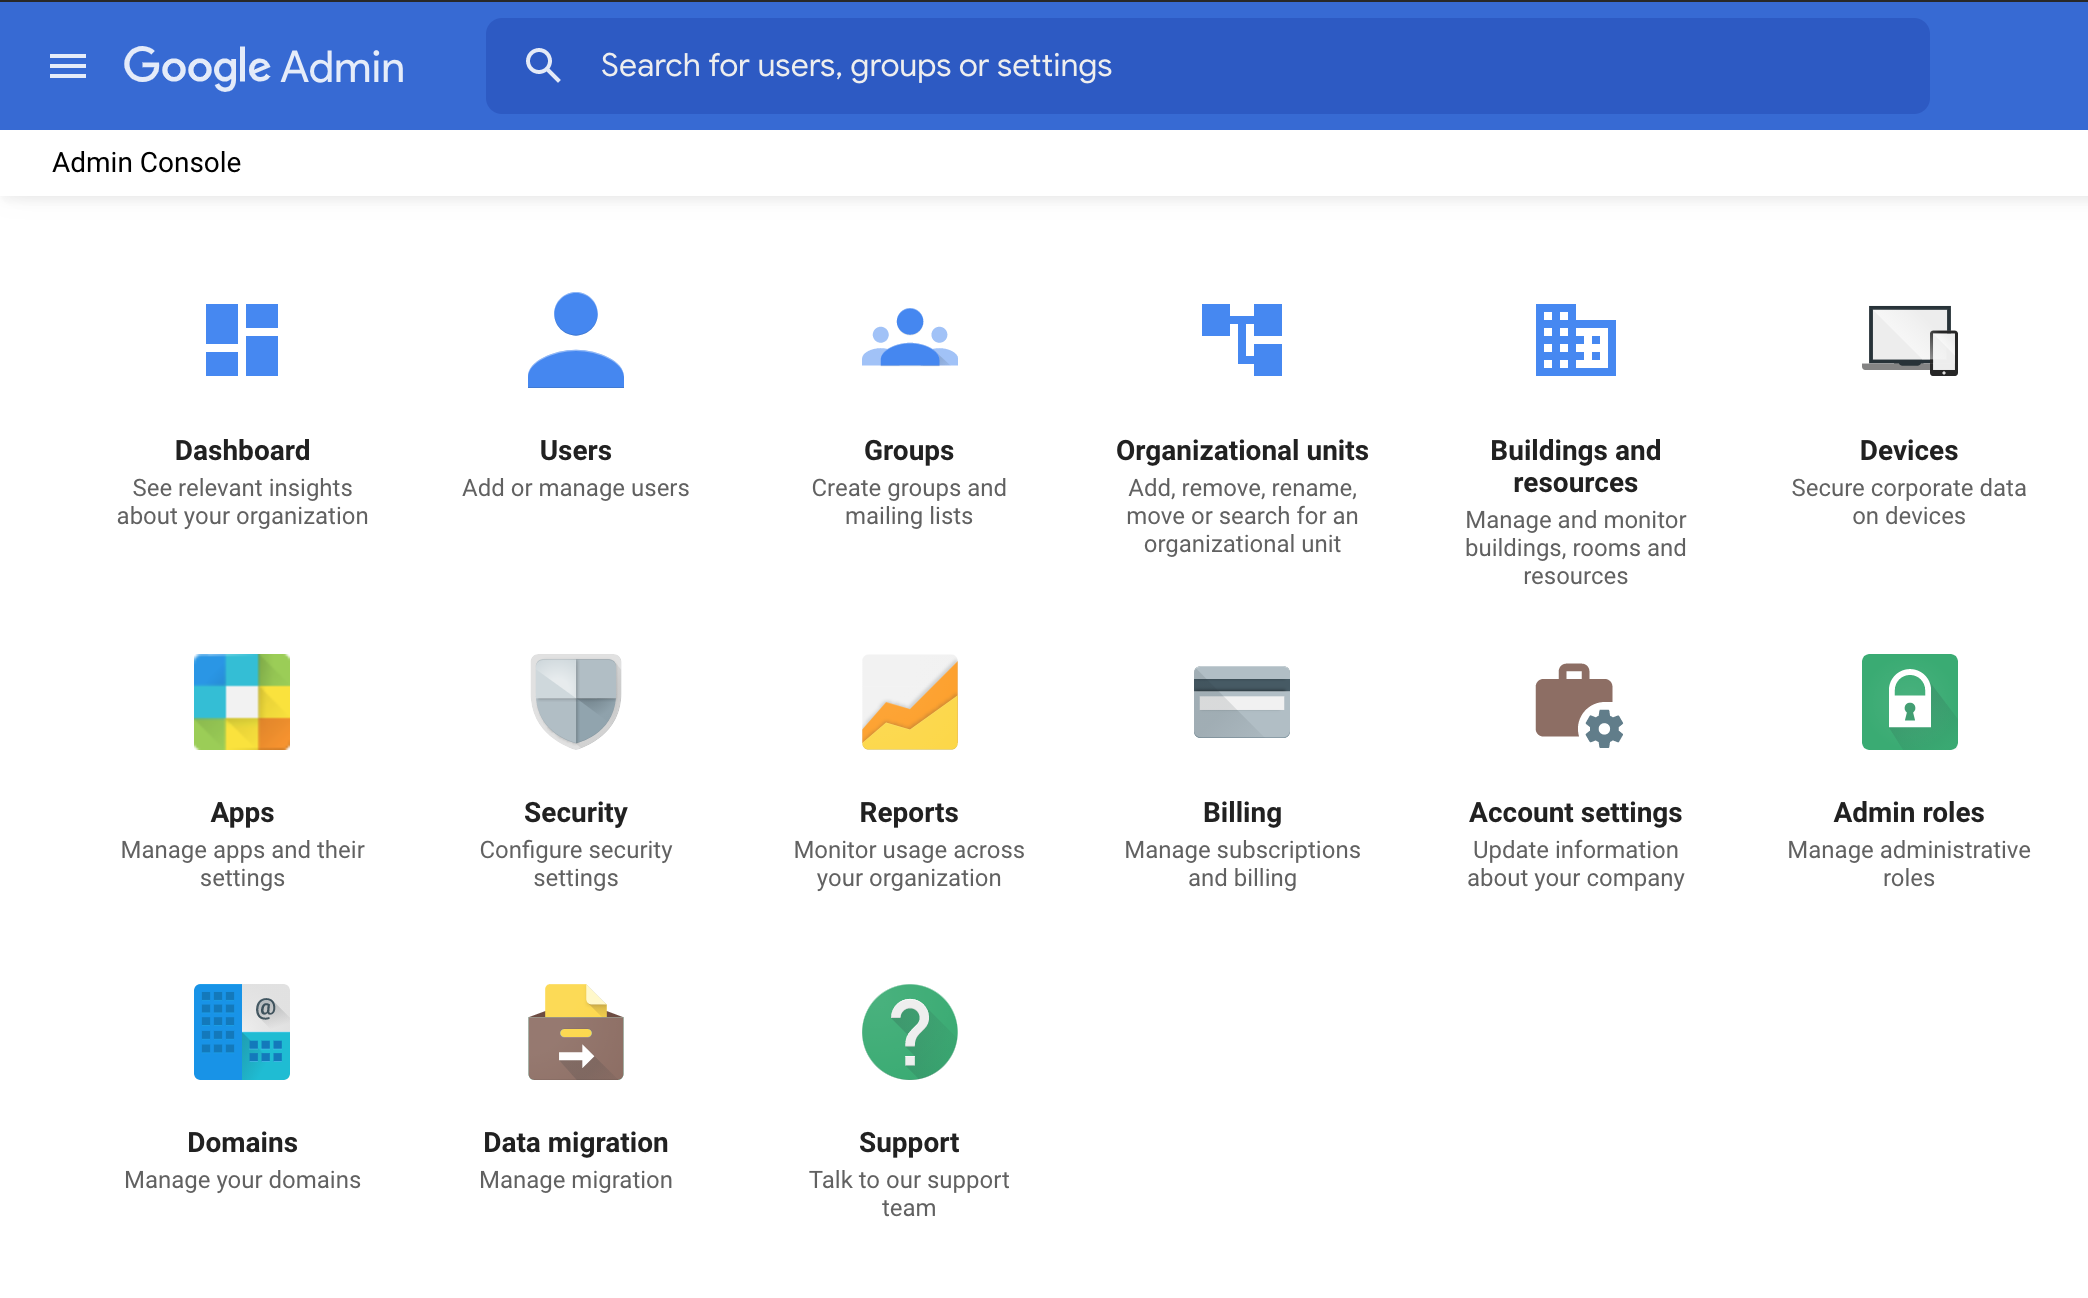
GSuide Admin Dashboard
First, you'll need to click on "Apps" from the Admin Console. This will take you to a page where your should see a "SAML apps" tile like the one below. Click on this tile to navigate to your SAML app listing.
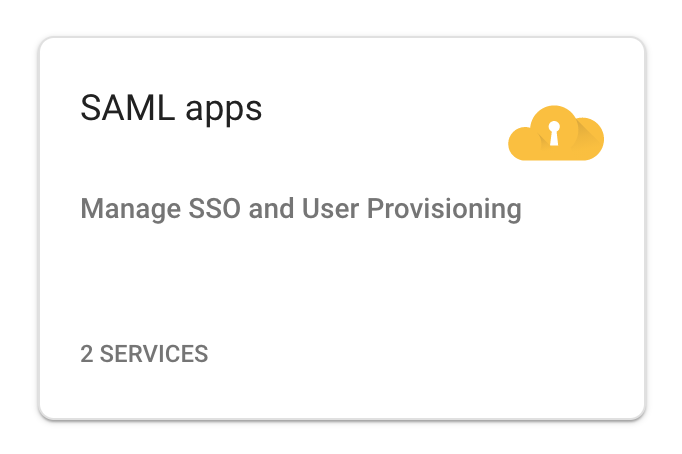
SAML app tile
On the SAML app listing page you should see a button for "Add App". Press the "Add custom SAML app" button to start the process of configuring your SAML app for Gamesight.
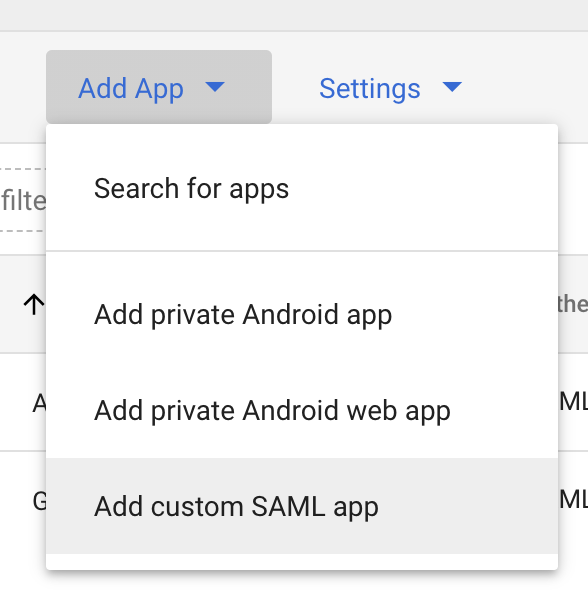
Add SAML app dropdown
This will bring up the SAML app creation wizard. Start by filling out the name for this SAML app and press Continue.
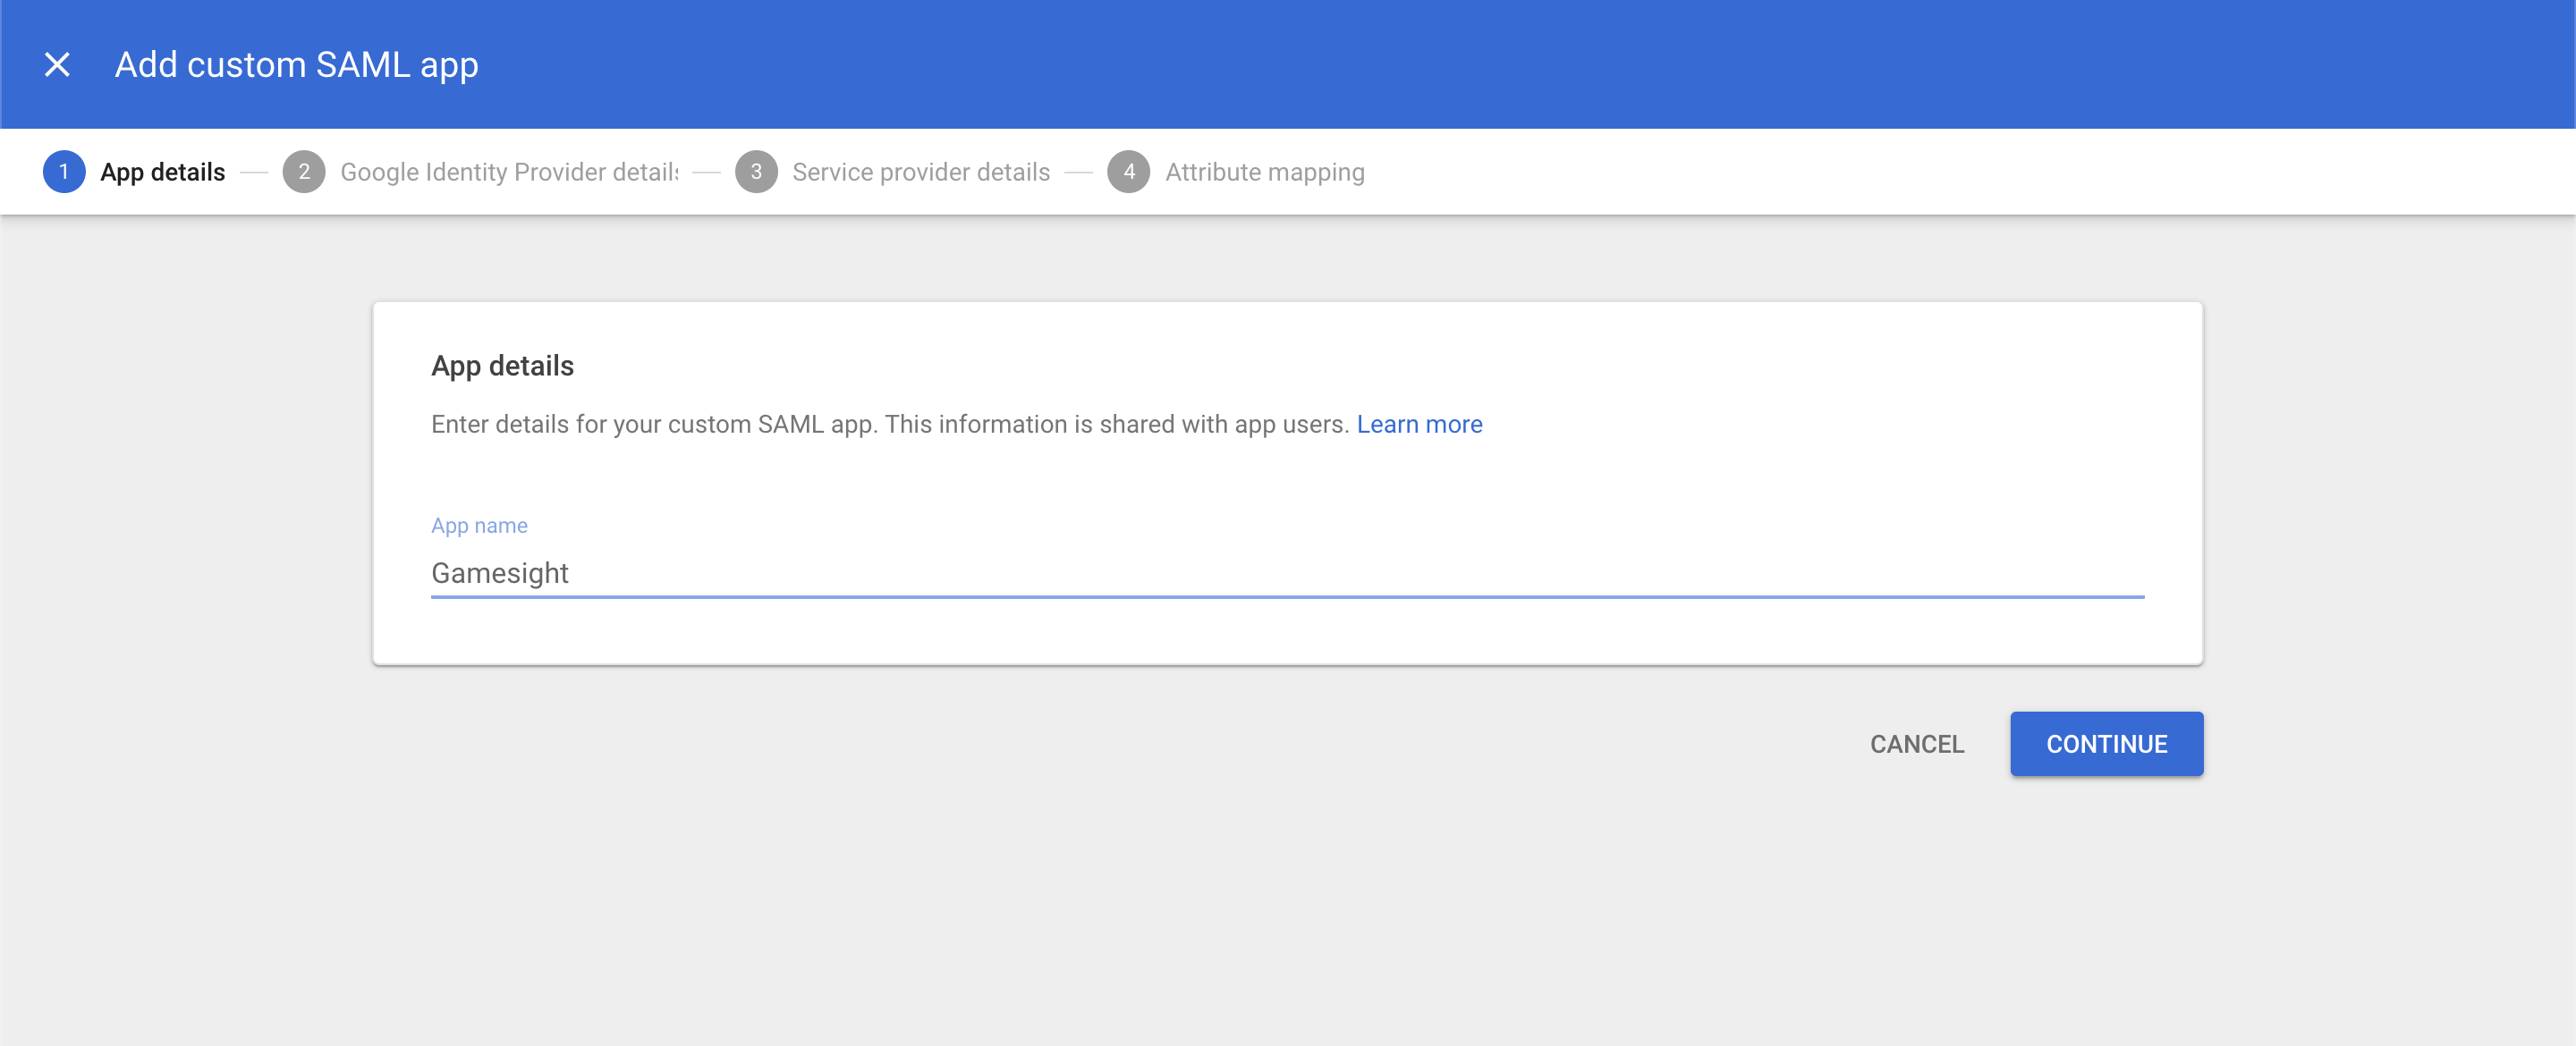
Setup a name for your SAML app
On the next page you will get an option to download your IdP metadata from Google. Press the Download Metadata button and save the file (GoogleIDPMetadata.xml), you will need to send this file to your Gamesight account manager to finalize the integration.

Download IdP metadata
One the next step of the wizard you will see two fields where you can fill in your ACL URL and Entity ID. Fill out these fields with the values you got from your Gamesight account manager back in Step 1.
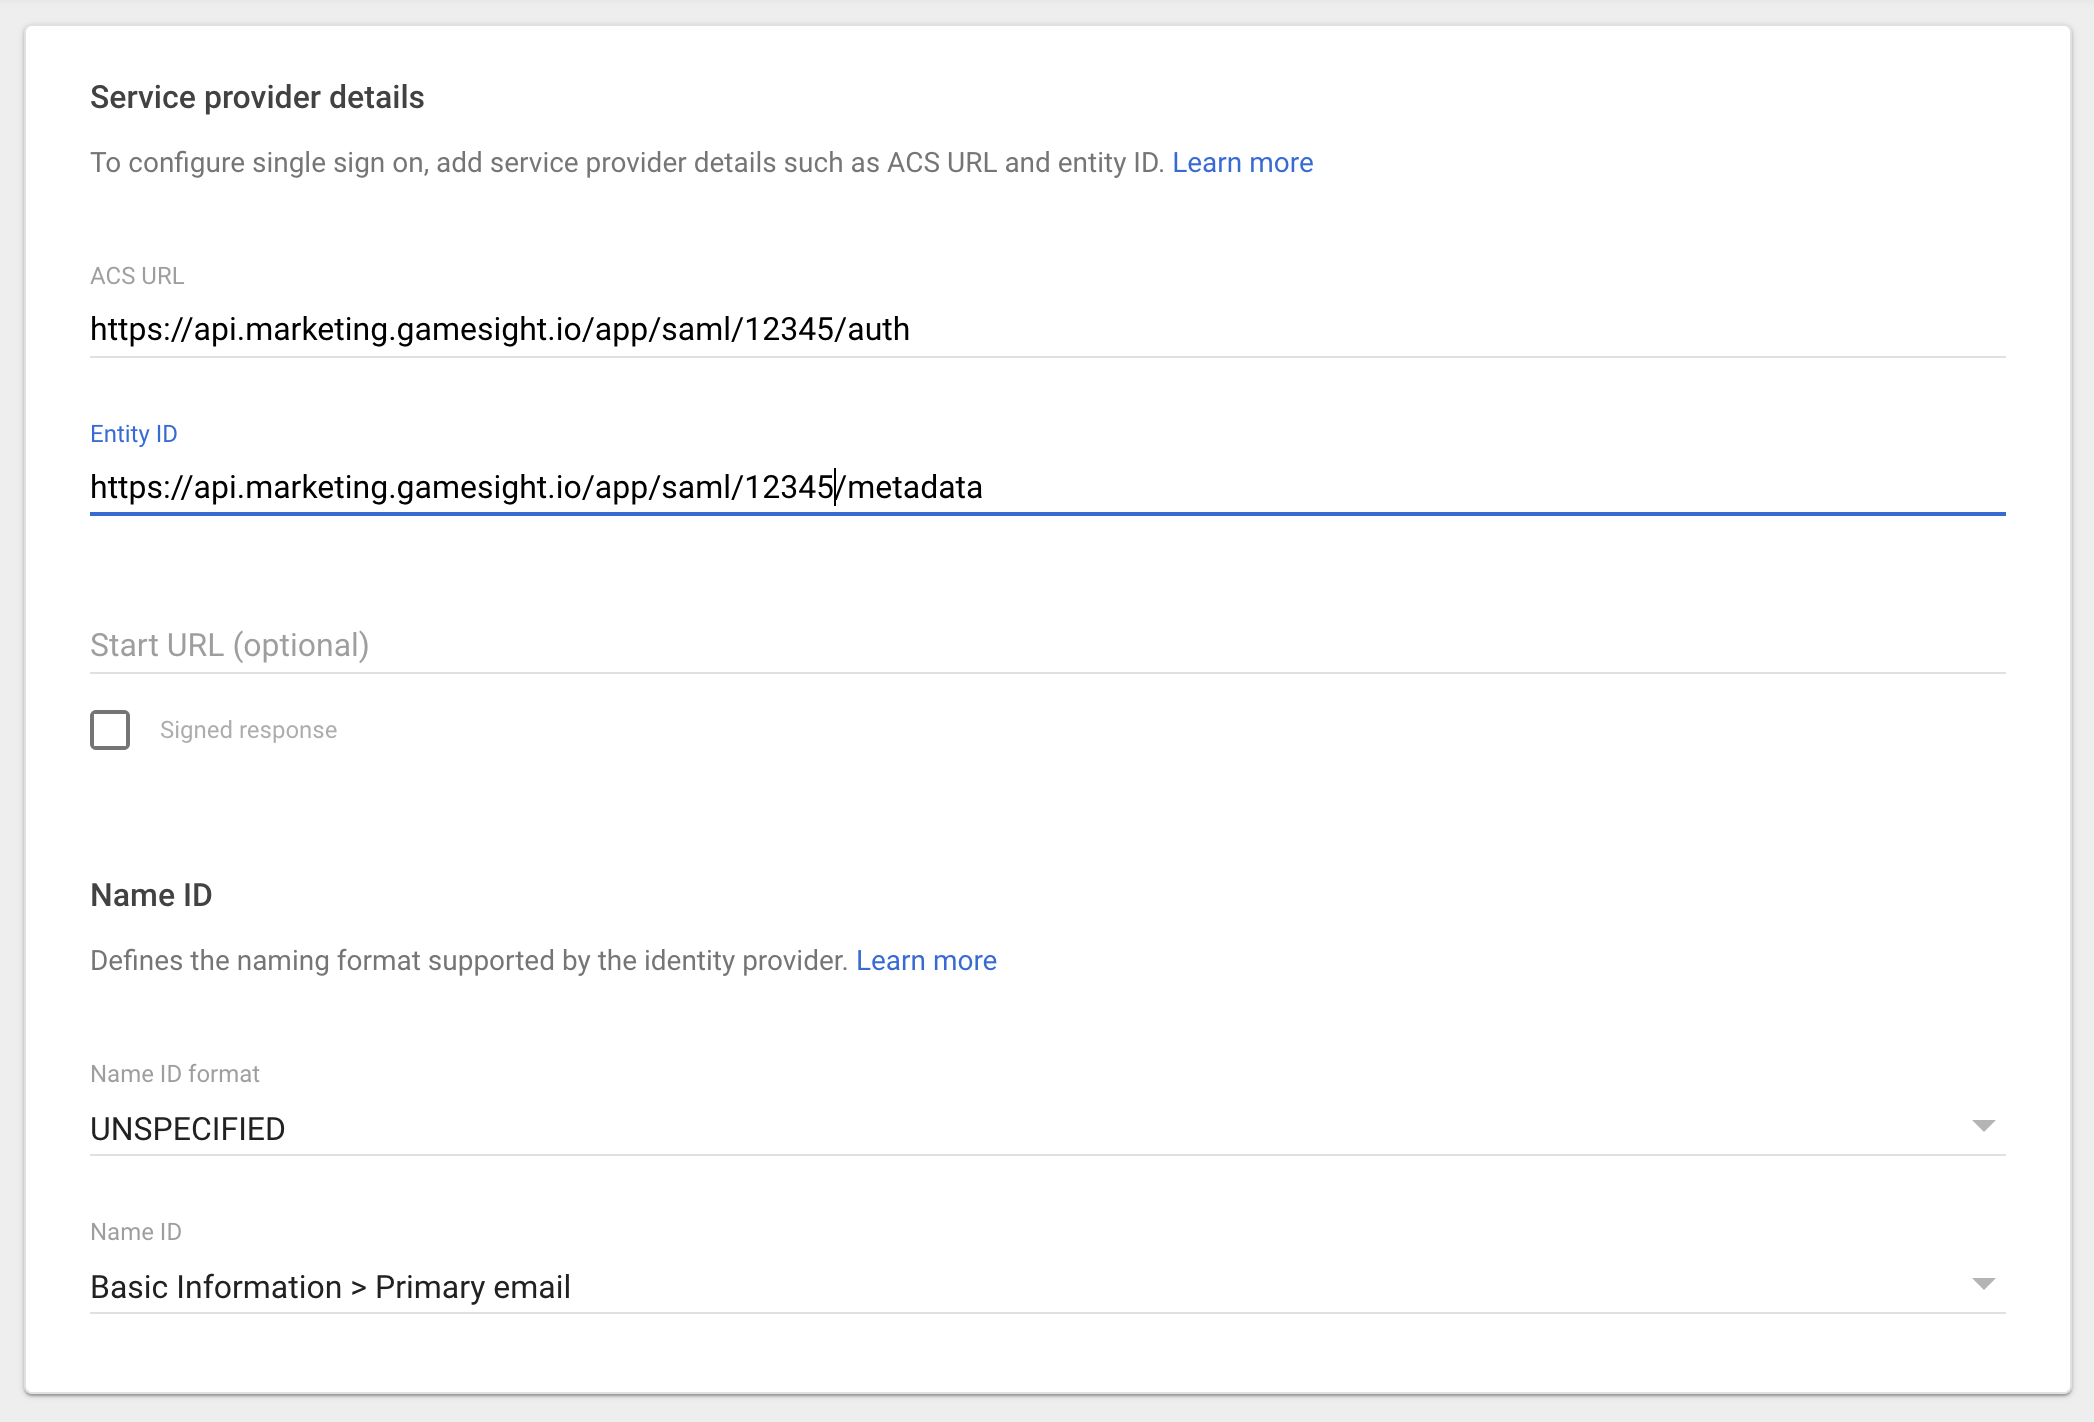
Manage service provider details
On the last page, you will set up the attribute mapping, defining how fields from your GSuite directory will be mapped into the Gamesight Console. The following table shows the attributes supported by Gamesight's SAML server.
| Field | Description | Suggested GSuite Attribute |
|---|---|---|
given_name | The user's first (given) name | First name |
surname | The user's last name (surname) | Last name |
email | The user's email | Primary email |
roles | An optional list of roles to add to this user, review the Role Management second below for more details | Custom user field |
Here is an example of what this mapping should look like. Once you have finished your attribute mapping, press the Finish button.
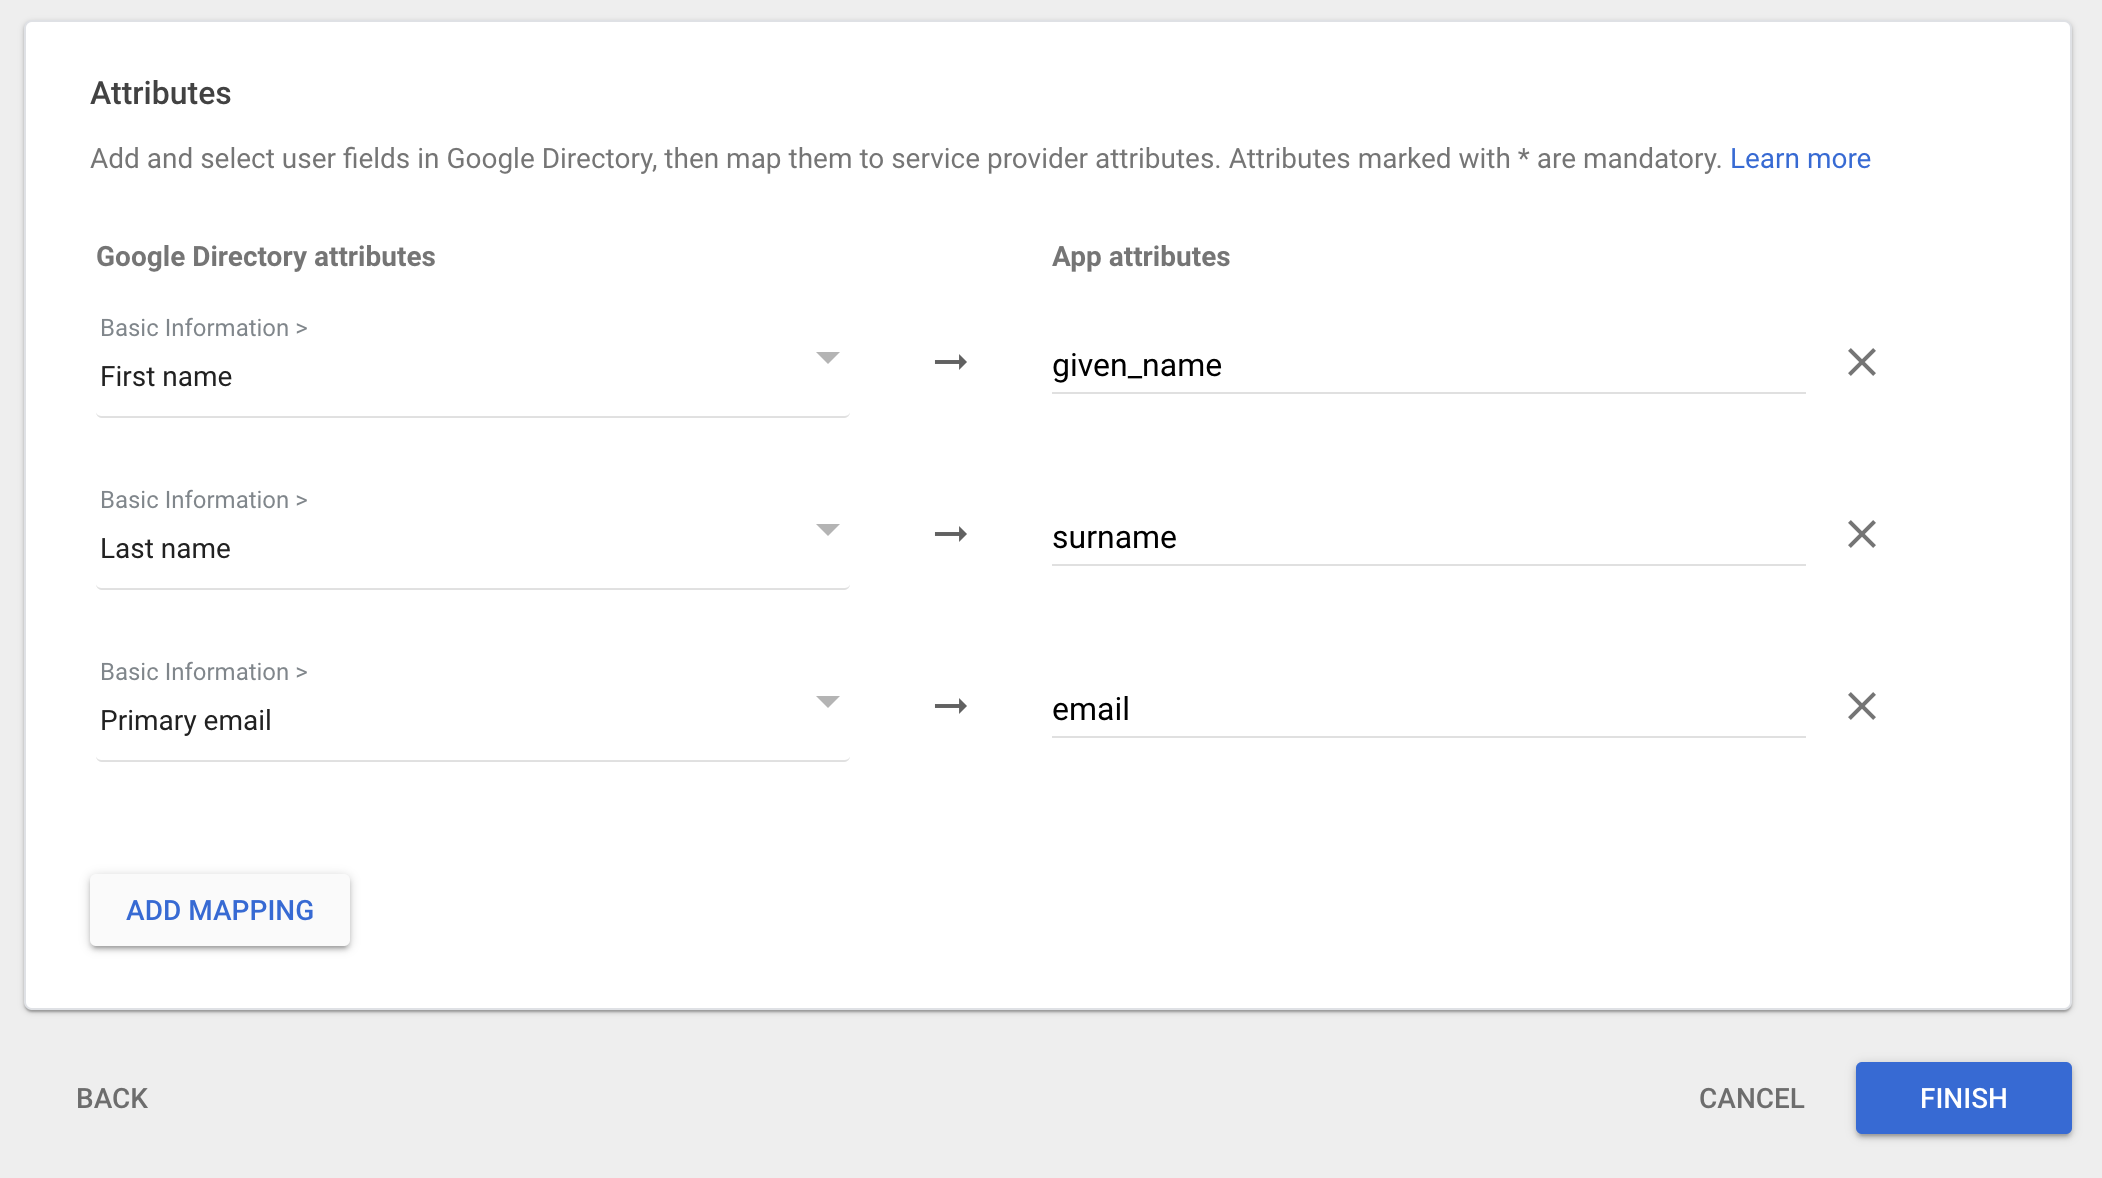
Configure SAML attribute mapping
Done! You'll now be sent to the completed SAML app in GSuite. Please review the settings under User access to ensure the appropriate team members have access to Gamesight.
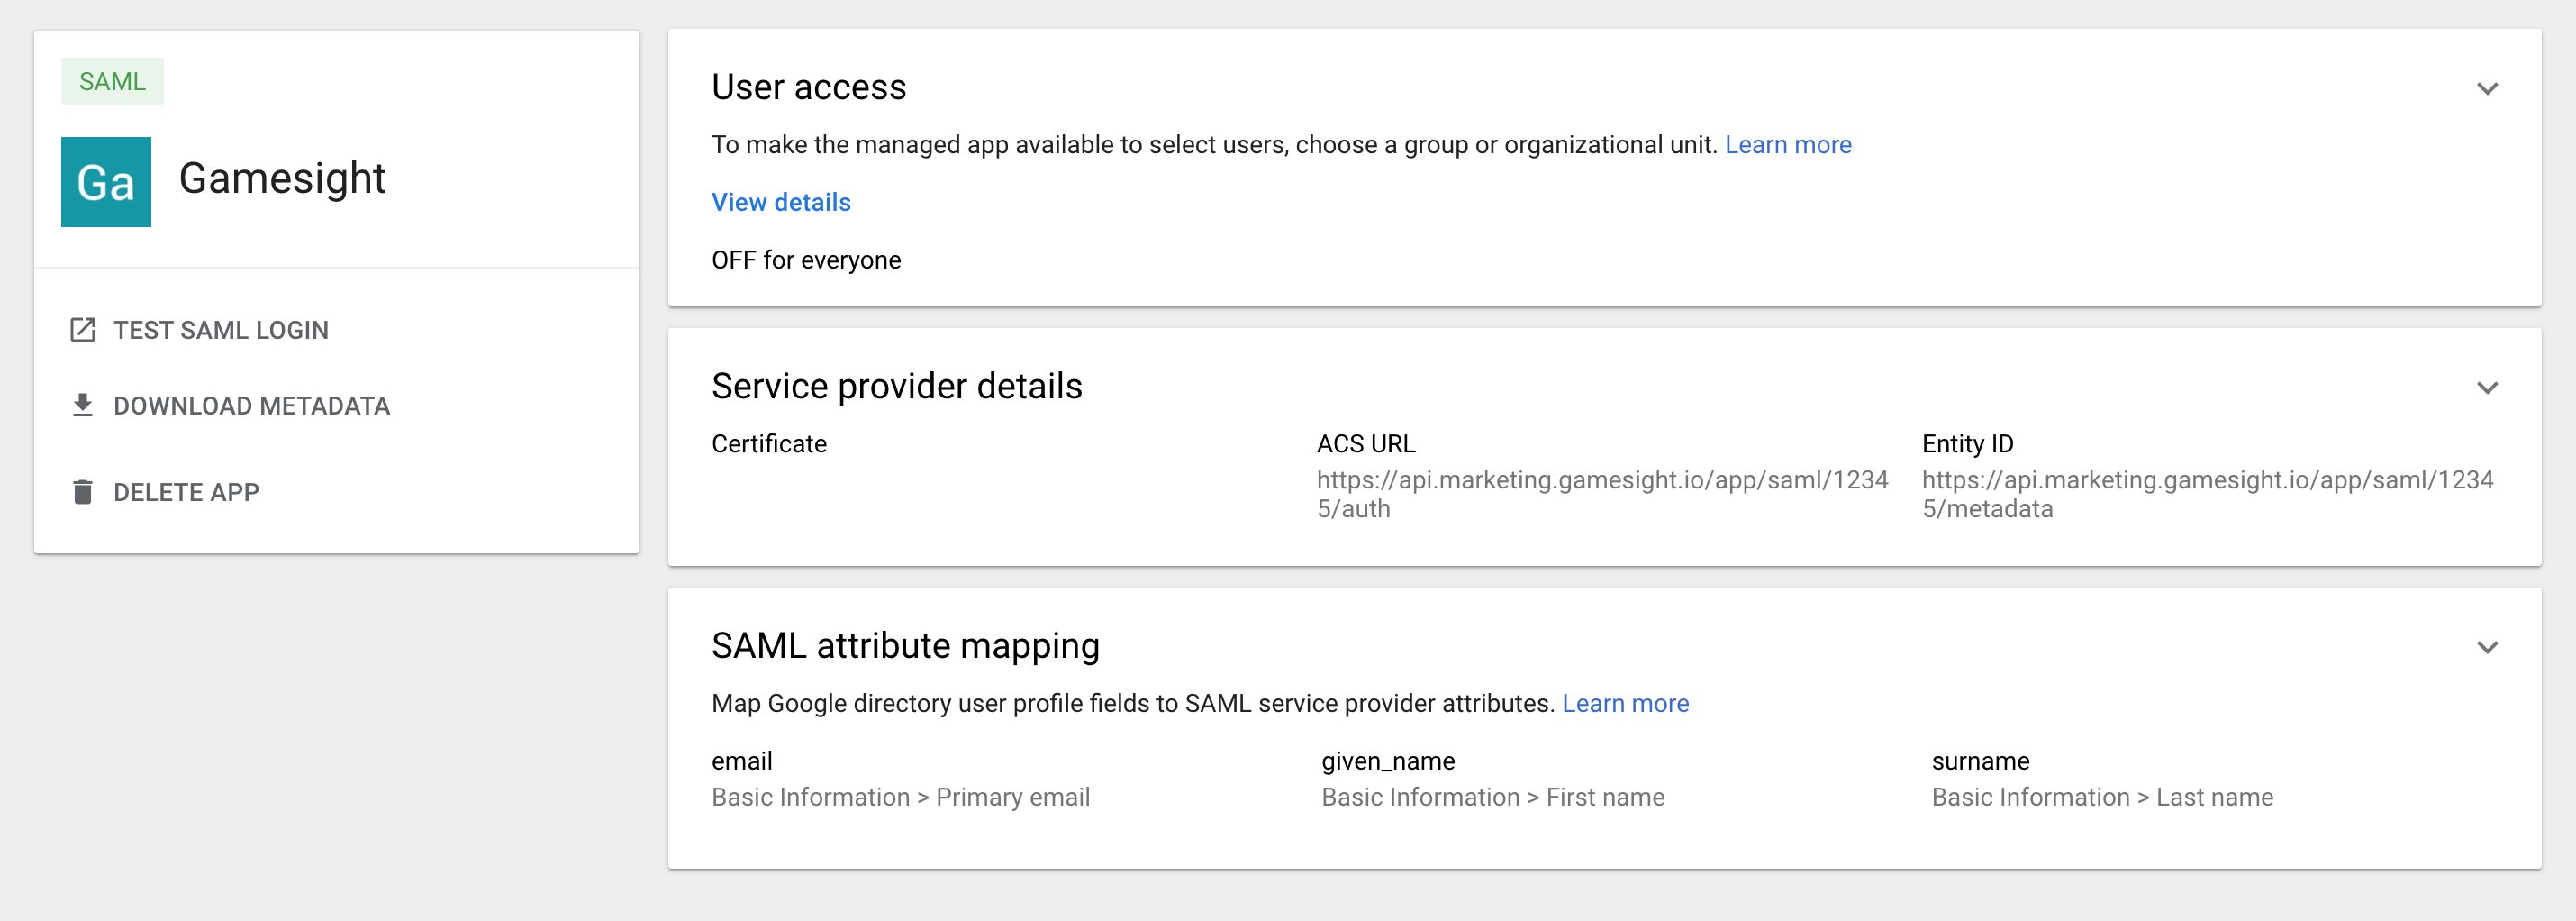
Custom SAML app details page
3. Send Metadata to Gamesight
The next step is to send the GoogleIDPMetadata.xml file that you downloaded while setting up your SAML app to your Gamesight account manager. We will use this metadata to finalize the SAML configuration on our end.
4. Test & Rollout
The last step is to test the SAML flow and roll it out to your whole org. Once your Gamesight account manager has confirmed that the metadata has been configured in Gamesight, you should be able to test the SAML login flow. Press the Test SAML Login button on your GSuite admin console. If all goes well you should be automatically logged in to your Gamesight account!
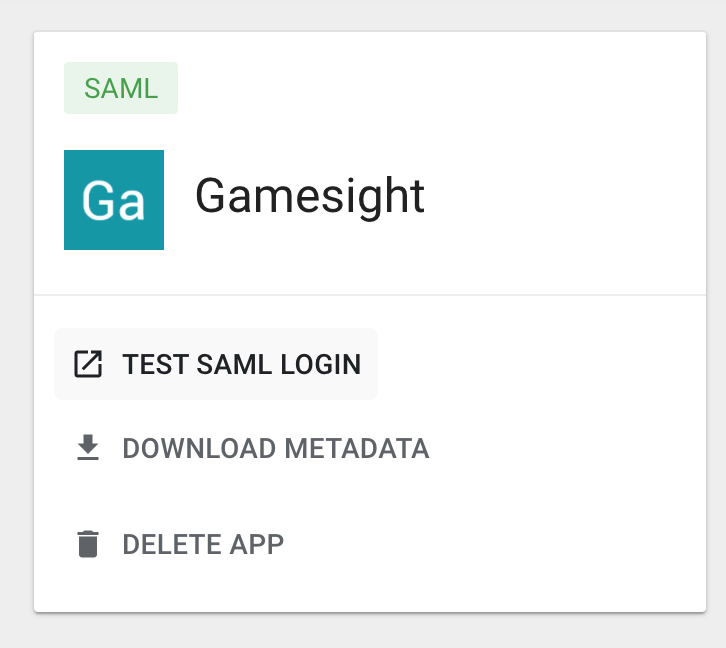
Testing your SAML integration
Once the application is enabled on your GSuite account, you will see an option to login to your Gamesight account through the Google App drawer. Additionally, when you enter your email address into the Gamesight Console login screen, you will be redirected to Google to complete the auth flow.
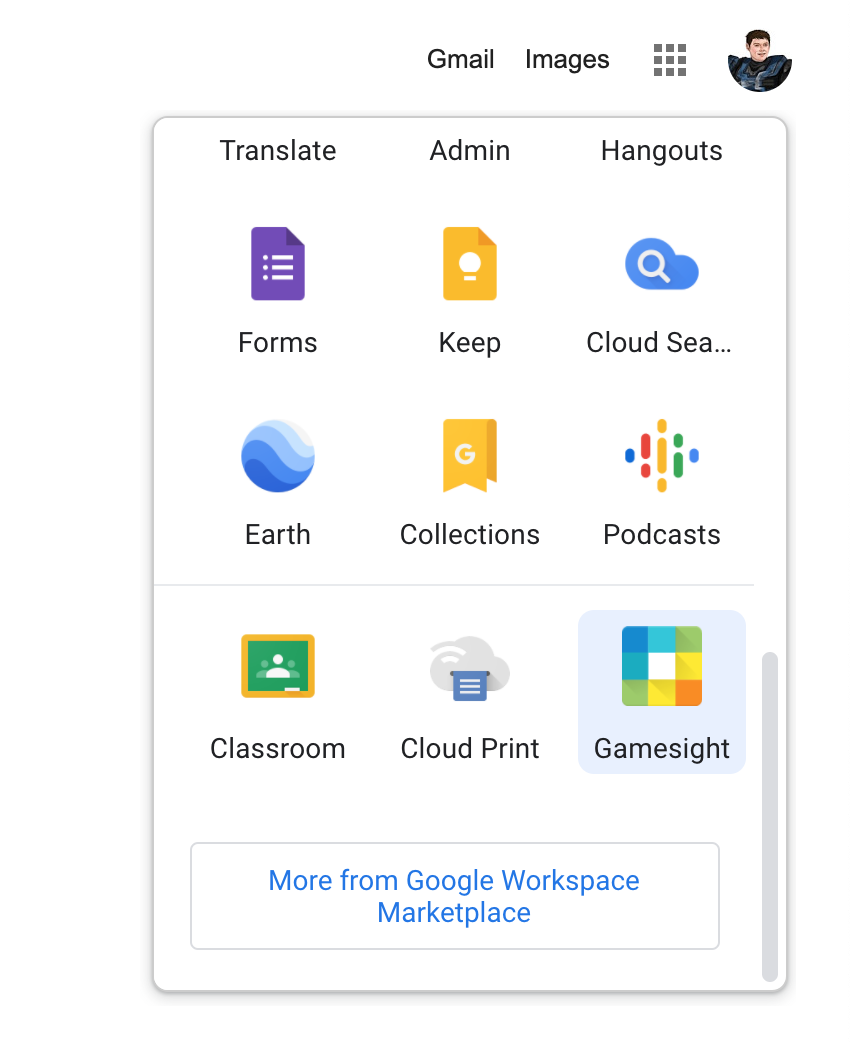
Google App Drawer
Migrating an existing org?If you already have users in your Organization, your account manager will be able to assist you with migrating your existing users over to your SAML integration
Role Management
It is possible to pass role data from your IdP to Gamesight through SAML so you can manage permissions centrally through GSuite. Note that you can still use Gamesight's built-in user management tooling to manage roles and permissions. The benefit of this integration is if you would like to define a default set of permissions for users to be given when they provision new accounts via SAML.
Since there is not built-in role field in the GSuite directory, you will need to add custom fields to your directory to pass role attributes to Gamesight. Review the SCIM Account Provisioning guide for details on how to format role data.
Be aware that roles will only be updated when a user re-auths through GSuite, so we recommend managing complex or frequently changing role structures through SCIM or Gamesight's built-in user management tooling.
Updated 5 months ago
